
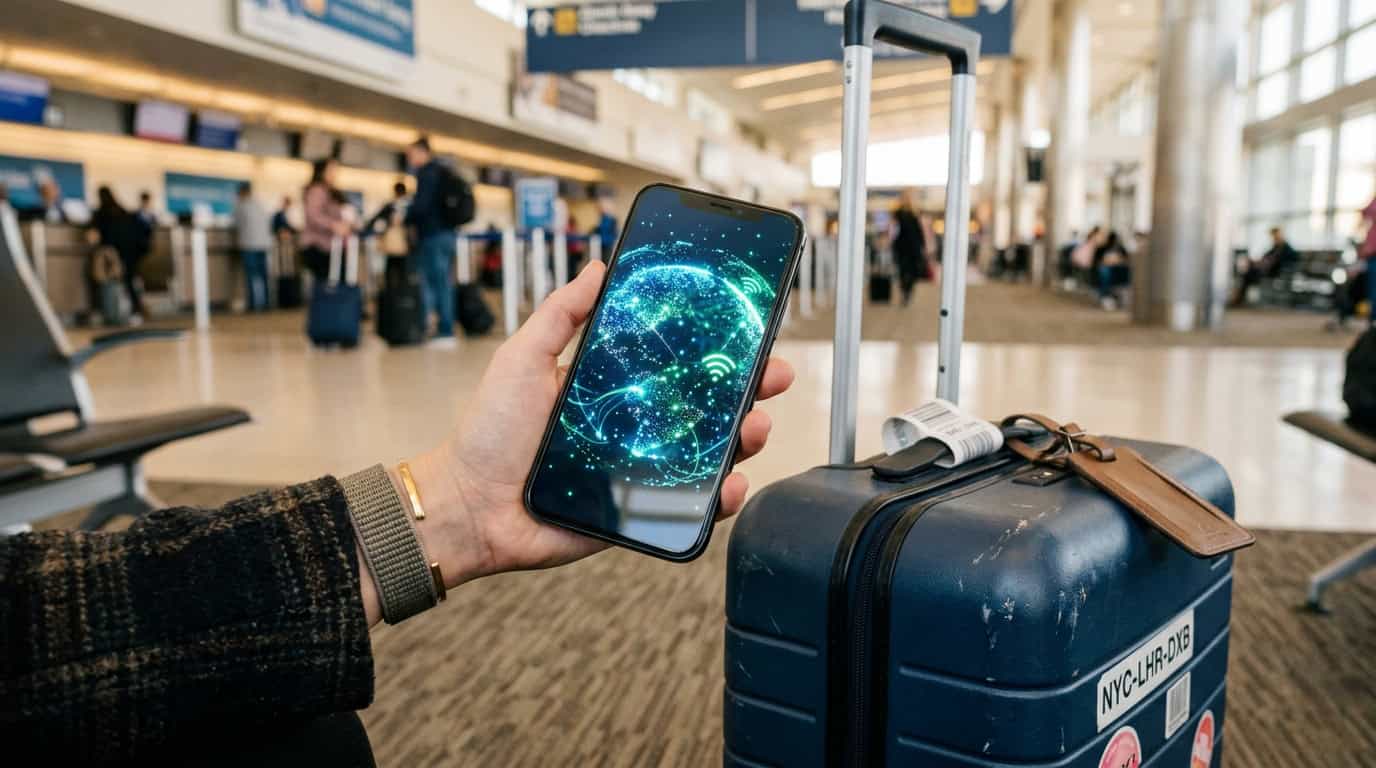
The first time I landed abroad, I was still on the runway when I realized I had no reliable way to reach my hotel, pull up directions, or message home. That experience taught me why an international eSIM guide belongs on every traveler’s planning list. A digital data plan can connect me within minutes, without swapping tiny SIM cards or facing surprise roaming charges. I can now download a plan before departure, keep my regular number available for important messages, and start exploring as soon as I arrive.
Choosing the right eSIM still takes some planning. Country and regional coverage, data limits, activation rules, hotspot access, speeds, and customer support can make the difference between effortless navigation through Lisbon’s winding streets and a frustrating search for Wi-Fi. With a few smart checks before takeoff, I can spend less time troubleshooting connectivity and more time chasing sunrise viewpoints, hidden cafés, and the next unforgettable stop.
Key Takeaways
- Verify that your phone is eSIM-compatible and carrier-unlocked before purchasing, then confirm the plan covers every destination, offers sufficient data, and supports your required features such as hotspot access and high-speed usage.
- Choose a country, regional, or global plan based on your itinerary, trip length, data habits, and network coverage. Regional plans are often convenient for multi-country trips, while country plans may be simpler and more economical for single-destination travel.
- Install the eSIM over reliable Wi-Fi before departure, but activate it according to the provider’s rules—often after landing—to avoid starting the validity period too early. Select the travel eSIM for mobile data, disable data switching, and turn off roaming on your primary line to prevent unexpected charges.
- Save activation and support instructions offline, test the connection upon arrival, and troubleshoot by checking network selection, data settings, APN details, speed limits, and coverage before relying on the eSIM for navigation or communication.
International eSIM Basics
An international eSIM is a downloadable mobile plan that lets me connect my compatible, unlocked phone to a cellular network abroad without removing my physical SIM card. Before a trip, I can purchase a plan for one country, a region, or several destinations, then install the eSIM through a QR code or provider app. After I land, I select the eSIM as my data line, which helps me find directions, message travel companions, and book a ride without relying on expensive roaming. I can usually keep my regular SIM active for texts or calls, although I need to check my phone settings carefully to avoid unexpected roaming charges.
I think of an eSIM as a convenient travel-data option, not a promise of unlimited service everywhere. Plan details can vary, including high-speed data limits, hotspot access, activation timing, network partners, and coverage in rural or mountainous areas. Many international eSIMs provide data only, so they may not include a local phone number for traditional calls or SMS, and service is not automatically free. Before buying, I check that my phone supports eSIM technology, is unlocked, covers my destinations, and offers enough data for the way I plan to travel.
Choosing Country And Regional Plans

I start by matching the plan to my route. A single-country eSIM is often ideal for a short stay in one destination, while a regional plan can simplify a multi-country journey. For example, on a trip through Rome, Paris, and Barcelona, I would compare one Europe regional package with three separate Italy, France, and Spain packages. The regional option may cost more upfront, but it keeps the same data line active as I cross borders by train or plane, so I do not need to install and activate a new plan at every stop. A global plan makes more sense when my itinerary spans several regions, although it may offer less data or slower speeds for the price. I also check whether each plan covers all three destinations through reliable network partners before choosing based on convenience alone.
Trip length and data habits should guide my next comparison. I consider whether I mainly need maps, messaging, and restaurant searches or expect to stream video, upload travel photos, and use my phone as a hotspot. Then I review the data limit, high-speed allowance, and any speed restrictions after the allowance is used. I also confirm when the plan activates, because some eSIMs begin counting down at installation while others start when they connect to a supported network abroad. Hotspot support, local-number availability, calls and texts, and the ability to keep my home number active can make a major difference during a longer trip. Before purchasing, I save the activation instructions and check customer service hours, since quick help is especially valuable when I am standing outside an airport in a new country.
For my Italy, France, and Spain itinerary, I would install the regional eSIM over Wi-Fi before leaving, keep my regular line available for important texts, and select the travel eSIM for mobile data after landing in Rome. That setup lets me follow walking directions to the Colosseum, share photos from Parisian cafés, and navigate Barcelona without swapping physical cards or facing surprise roaming charges. I would still review the plan’s coverage map and supported networks for rural train routes, along with its expiration date and top-up rules. If I were spending the entire trip in Italy, a country plan could be simpler and more economical, but the regional plan would be the better choice if I wanted uninterrupted connectivity across borders.
Installing And Activating Your eSIM
Before I buy an international eSIM, I check that my phone supports eSIM technology and is carrier-unlocked, since a locked device may reject a travel plan. I also confirm that the plan covers every destination on my itinerary, offers enough data, and clearly explains its activation period, speed limits, hotspot rules, and support options. After purchasing from a reputable provider, I connect to Wi-Fi, open the confirmation email or app, and scan the installation QR code in my phone’s cellular settings. I label the new line with the destination, such as “Japan Trip,” so I can identify it easily beside my regular number.
I prefer to install the eSIM at home while I have reliable Wi-Fi, but I wait to turn on its data roaming or activate the plan until I arrive. That timing helps prevent the validity period from starting too early, although I always check the provider’s specific activation rules first. I keep my primary line active for important texts if needed, while choosing the travel eSIM as my mobile data line and disabling data switching between lines. This setup lets me land, collect my bags, and start navigating without worrying about expensive roaming charges.
At the airport, I confirm service before heading into the city by turning off airplane mode and checking that the eSIM shows a network connection. I open a map, send a message through a data app, and load a webpage to verify that data is working. If anything seems slow, I review the phone’s signal and network settings. If service does not appear immediately, I restart the phone, confirm that the eSIM is selected for data, and check whether data roaming is enabled for that line. With those checks complete, I can step outside into the bright rush of arrivals and focus on the first adventure instead of troubleshooting connectivity.
Managing Data Across Borders

Before departure, I set my primary number to handle calls and texts, then choose the travel eSIM as my phone’s mobile data line. This keeps familiar messages arriving while I avoid using my regular plan for expensive data roaming, although I always check my carrier’s rules for international texts and calls. I also turn off data roaming on the primary line and disable automatic data switching, so the phone cannot quietly fall back to the wrong connection. After landing, I confirm that the travel eSIM is active and watch the plan’s usage counter, especially when uploading photos or navigating for long stretches. Installing the eSIM over reliable Wi-Fi before my trip gives me one less task to manage at the airport.
Once I arrive, I let the eSIM connect automatically to a supported local network, but I switch to manual network selection if the phone shows no service or chooses a weak partner. Wi-Fi is useful in hotels, cafés, airports, and train stations, particularly for large downloads and video calls, but I avoid unsecured networks for banking or other sensitive tasks. If speeds feel slow, I move outdoors or to a clearer location, confirm that I have not reached a high-speed data limit, and reconnect by toggling airplane mode. A hotspot may not work if tethering is excluded from the plan, so I check the plan details before relying on it for a laptop or travel companion. These small checks help me stay connected while watching the sunset, finding a hidden restaurant, or navigating the next train.
When an eSIM refuses to connect, I restart the phone, toggle the line off and on, and verify that the eSIM is selected for data rather than deleted or disabled. Incorrect APN settings can also block service, so I enter the exact APN details supplied with the plan and leave unrelated fields unchanged. Crossing an international border may require a new country or regional plan, a fresh network selection, or a quick review of the eSIM’s coverage area, even when the phone worked perfectly a few minutes earlier. I keep the installation instructions and support details saved offline, since troubleshooting is harder without Wi-Fi. With these preparations, an international eSIM becomes a dependable travel tool instead of another source of stress.
Choose the Right eSIM for Every Stop
The right international eSIM can make a trip feel smoother from the moment I leave the airport, whether I am opening a map for the first transfer, messaging my accommodation, or checking a train platform in an unfamiliar station. Before buying, I check that my phone is unlocked and eSIM-compatible, then compare coverage, network partners, data limits, speed restrictions, hotspot support, and activation rules. I also look at whether the plan covers every stop on my route, especially when a city break includes neighboring countries or a scenic journey through rural areas. These details may take a few extra minutes to review, but they can prevent frustrating gaps in service when I need directions most.
I install the eSIM before departure while I have reliable Wi-Fi, label the lines clearly, and follow the provider’s instructions for activating data after landing. Keeping my regular number available for texts while using the travel line for data can also help me stay reachable without accidentally triggering expensive roaming charges. Rather than choosing the cheapest plan automatically, I match the allowance and validity period to my actual itinerary, from a short weekend in one city to several weeks of island-hopping and cross-border travel. With that preparation in place, I can spend less time searching for Wi-Fi and more time enjoying sunrise viewpoints, local cafés, and the final train ride home.