
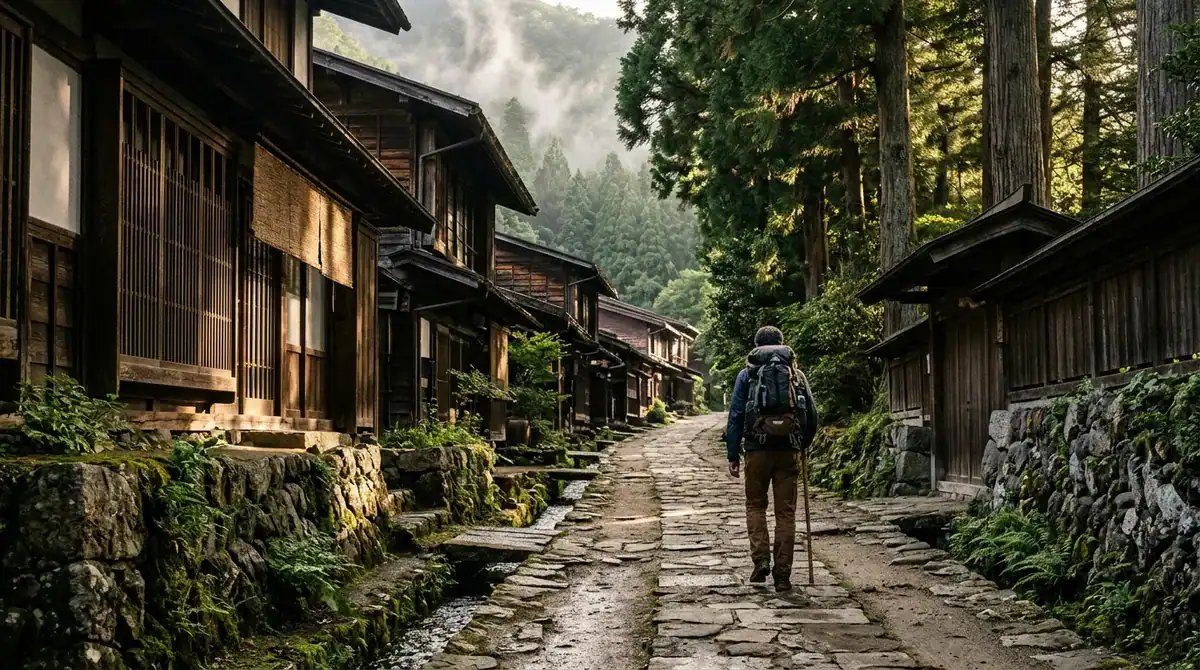
The Nakasendo Trail hike is a walk along the historic highway that linked Kyoto with Edo, the city known today as Tokyo, during Japan’s Edo period. Its route passed through 69 post towns, where travelers rested under low eaves, horses were changed, and goods moved from one region to the next. The best-preserved of these settlements sit in the Kiso Valley, and walking into them feels like stepping through a painted scroll. Cedar-lined lanes climb through the hills, and wooden storefronts with sloping roofs line streets that have changed little in generations.
The most popular stage is the Magome to Tsumago walk, about 8 km, which most hikers finish in two to three hours. It crosses a pass at 801 m. The descent comes after the summit when walking from Magome toward Tsumago, which is why many walkers choose that direction. For a tougher day, the Yabuhara to Narai crossing over Torii Pass covers 8.5 km in roughly 2.5 hours and sees far fewer walkers. The full route can be walked in four to five days, though the most determined hikers finish it in three. Think of the trail as a chance to trade big-city noise for birdsong, quiet inns and the creak of old floorboards.
Key Takeaways
- First-time Nakasendo walkers should begin with Magome to Tsumago, then consider Torii Pass once their legs feel ready.
- Nakasendo travelers should verify current inn opening dates shortly before departure, because seasonal schedules shift.
- Walkers using the Magome luggage service should arrive before the 11:30 cutoff, since late arrivals must carry bags up the pass.
- Hikers taking the bus from Nakatsugawa Station should leave a time margin, since the 4.5-hour estimate assumes a well-timed connection.
- Hikers heading into the Kiso Valley should carry a paper map, since phone signal can fade under dense cedars.
What Is the Nakasendo Trail Hike?
The Nakasendo Trail hike means walking the old mountain road that ran between Kyoto, the imperial capital in the west, and Edo in the east, the shogun’s seat that is now Tokyo. Much of the road still follows its original line, so each day on foot traces a route that travelers, officials and merchants once covered on foot or on horseback.
The road was built around the post towns, known as juku, which were spaced along it as relay stations. At each one, a traveler could find a bed for the night, a meal, and a fresh horse or porter to carry on. Packhorses hauled raw silk, lacquerware and other goods between regions, and the towns kept the trade moving. Some stops were busy enough to house the lords who traveled the road with long processions of attendants, so a single town could be bustling one night and quiet the next.
Three of these towns are now the stars of the trail: Magome-juku, Tsumago-juku and Narai-juku. The Kiso Valley holds several of the route’s best-known historic settlements, and that concentration is why the valley draws so many walkers. Its towns sit along a narrow, steep stretch of the road, and the old streets have stayed largely intact, with timber frames, sloping roofs and wooden lattice fronts still facing the lane.
Walking up to one of these towns feels like arriving at a waypoint rather than stopping at a scenic overlook. You climb through stands of tall cedar, their trunks rising straight out of the slope and their needles muffling every footstep. The air smells of damp earth and resin, and the first sight of a town often comes as a row of dark eaves appearing around a bend. Inside, the street narrows, the wood darkens with age, and small shops still sell the kinds of goods travelers once bought before the next climb.
That slower rhythm is what sets the Nakasendo apart from a typical Japan trip. A city itinerary usually moves you from temple to train to restaurant in a single afternoon, with the timetable doing most of the work. On the Nakasendo, the road itself sets the pace. You notice the grade of a slope, the way a valley opens and closes, and the spacing of the villages, which were placed where a horse or a walker could reasonably expect a rest. In that sense, the hike is a practical way to understand how Japan moved people and goods before railways and highways reshaped the country.
Which Nakasendo Stage Should You Walk First?
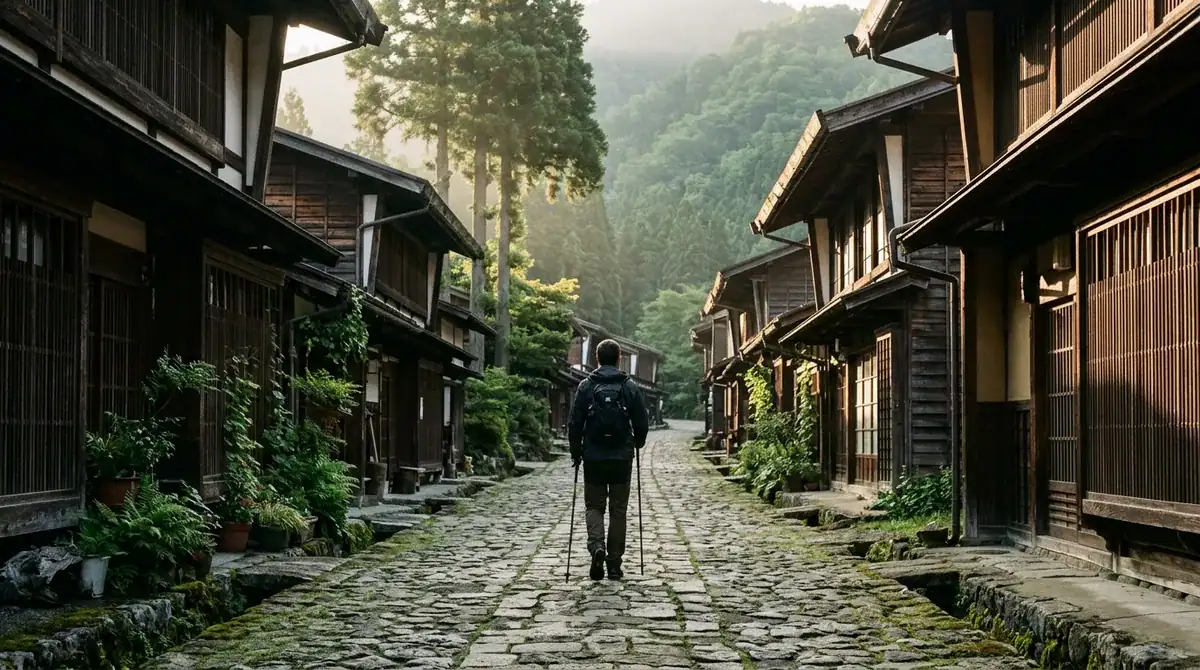
For most first-timers, the Magome to Tsumago walk is the right first stage. It is short enough to complete in a single day, and it gives you the full flavor of the Nakasendo, with cedar-lined slopes, a mountain pass, and two beautifully preserved post towns at either end.
The stage covers about 8 km, and most walkers finish it in two to three hours. That timing leaves plenty of room for the things that make the route special. You can linger in Magome’s narrow lanes in the morning, stop for a cup of tea in Tsumago in the afternoon, and still have time to watch the light change across the wooden eaves before the day ends. Rushing this stage misses the point, because the villages set much of the rhythm.
The main effort comes at the top of the hill. The path climbs to a pass at 801 m, and for anyone used to flat city sidewalks, that sustained ascent is felt in the calves and the lungs. The grade builds steadily rather than lunging upward, so the climb feels more like a long conversation with the mountain than a sprint. Take regular breaks, and you will reach the top with energy left for the views back over the valley.
Direction changes the whole character of the day. Walking from Magome, you climb first, while your legs are fresh and your pack feels light. Once you crest the pass, the trail drops toward Tsumago, so the finish is a gentle downhill stroll with the village already in sight. This is the reason most walkers choose this direction, and it is a good choice for a first walk.
Reversing the route turns the day upside down. Starting from Tsumago, you face the pass at the end of a long morning, when tired legs and a full stomach make the climb feel heavier. You would then descend into Magome as the afternoon wears on. Experienced walkers sometimes prefer this version for variety, but a first-timer will usually enjoy the Magome direction more.
If the Magome to Tsumago stage feels comfortable, the next step up is the Yabuhara to Narai crossing over Torii Pass. It covers 8.5 km in roughly 2.5 hours, and it is the more strenuous of the two options. Because it sees far fewer walkers, it also offers a quieter sense of the old road, with fewer people on the path and more of the forest to yourself. Treat it as a second-day challenge rather than your opening act.
Whichever stage you choose, pack for the terrain. Wear shoes with good grip, since stone steps and damp wooden sections can be slippery after rain. Carry water and a light snack for the climb, and keep your pack small enough to manage on the ascent. Starting early gives you more daylight for the pass, more time in each village, and a calmer walk through the cedars before the day’s other travelers arrive.
The Torii Pass Crossing: A Tougher Alternative
The Yabuhara to Narai crossing is the stage many walkers skip, and that is part of its appeal. According to the Kiso Ontake Tourism Office, the route covers 8.5 km and takes roughly 2.5 hours over Torii Pass. On paper, that sounds close to the Magome to Tsumago walk. On the ground, it asks more of you from the first step to the last.
This crossing suits experienced walkers, the people who already cover long days on uneven ground and feel at ease on steep trails at home. It is also a good match for travelers who finished the Magome stage with energy to spare and want a more demanding day. If your idea of a hike is a flat park loop, save this one for later in your trip.
The reward is quiet. Because far fewer walkers use the route, the forest sounds louder than the chatter you may have heard on the main stage. You hear wind moving through the cedars, the crunch of your own footsteps on the path, and the occasional bird calling from high in the trees. Without a line of hikers in front of you, you can set your own pace, stop when a view opens up, and sit for a few minutes without waiting for a gap in the crowd.
The effort is the trade-off. The Magome to Tsumago walk gives you a clear climb followed by a gentle finish, but the Torii Pass route asks for steady attention to your footing and your pacing for the whole day. Fatigue builds gradually, so it pays to go slowly from the start rather than saving your strength for later.
Footwear deserves a careful look before you commit. Boots or shoes that felt fine on a short walk around town may not hold up over a full morning of climbing and descending. Check that the soles still have good tread, that the fit is secure at the heel, and that your ankles feel supported. Break your footwear in on hills at home, and pack blister plasters in case a hot spot appears.
Fitness is the other question to answer honestly. Could you walk 8 km with a daypack without feeling wrecked? Can you climb steadily for an hour without needing long stops? If the answer is uncertain, walk the Magome to Tsumago stage first. It will show you how your body handles the Kiso terrain, and it will help you decide whether Torii Pass belongs in your plans.
On the day itself, start early. An early start gives you daylight for the pass, time to rest without rushing, and a calm arrival in Narai-juku, where the old lanes are yours to explore before the afternoon.
Planning Your Days and the Season on the Trail
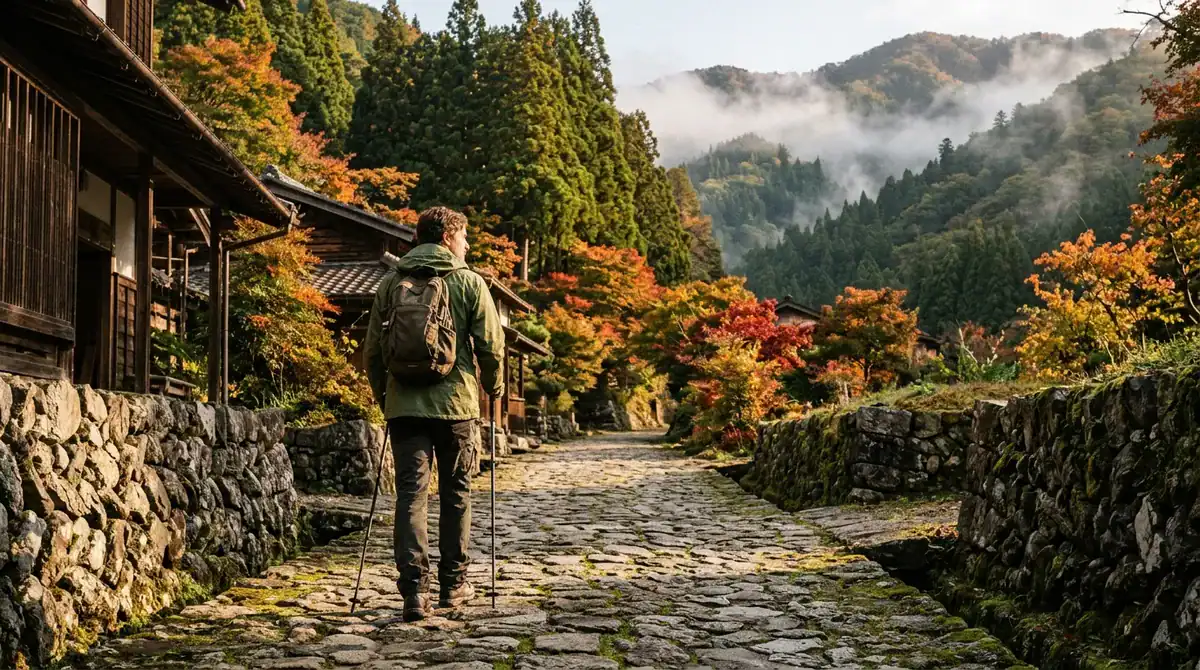
The Japan National Tourism Organization (JNTO) says the entire Nakasendo can be walked in four to five days, and highly motivated hikers finish it in three. Four or five days gives you room to stop in each post town that catches your eye, sleep in a traditional inn along the way, and let the walking become one part of each day rather than the whole point. Three days is possible, but it turns the trip into a long push with little time to wander once the stages are done.
If your calendar is tight, a short visit works well. Build the trip around the Magome to Tsumago walk, then give yourself village time on either side of it. Arrive in Magome with enough daylight to explore its lanes before dinner, and spend the afternoon after your walk in Tsumago looking at the old timber houses and small shops. One good walk and a night among the eaves can change how you think about Japan’s old roads.
For a fuller taste, a three-day Nagano tourism itinerary combines three experiences: a stay in Kiso-Fukushima, the Magome to Tsumago walk, and the Yabuhara to Narai hike over Torii Pass. Kiso-Fukushima makes a sensible starting point, since it gives you a settled first day before the trail begins. Walk Magome to Tsumago on day two, when your legs are warmed up and the pass feels manageable. Save the Torii Pass crossing for day three, and finish in Narai-juku, where the old lanes reward a slow afternoon. Treat this order as a flexible guide, and swap days if a rest day suits you better.
Seasons shape the walk more than many travelers expect. Conditions shift through the year: a path that is dry and firm in one month can turn slick and muddy after a few days of rain in another, and wooden steps become slippery when wet. Crowds rise and fall as well, with the busiest stretches usually coinciding with national holidays and peak travel periods, while quieter weeks give you more time alone on the forest paths. Luggage service availability also changes through the year, so the months when it runs may not match the months when you most want to walk.
Because schedules and services change, check current details before you go. Confirm the opening dates of the inns you plan to stay in, the dates of any luggage service you intend to use, and the latest timetables for the buses and trains that connect the stages. Information that was accurate last season may have changed, so a quick check a week or two before departure can save you from an unpleasant surprise at the trailhead. Build a little flexibility into your schedule, too, so a rainy morning can shift your plans without spoiling the trip.
How Do You Get to the Trail and Back?
Most hikers reach the Kiso Valley by train, arriving at Nagiso Station or Nakatsugawa Station, the main rail access points for the area. Which one you choose depends on where you sleep and how you plan to leave the trail. Either way, the trip is shaped by the connections, so plan those first.
Nakatsugawa Station is where the Tsumago to Magome walk ends when you add the bus transfer. The Nakasendo Trail route guide, updated in June 2026, estimates about 4.5 hours for this route including the bus. The same guide lists 800 yen one way as the bus cost, which makes transport one of the smaller line items in your budget.
That 4.5-hour figure is an estimate, not a promise, and it only works if your connection is timed well. Work backward from your bus or train departure. If the transfer leaves at a fixed time, be at the bus stop with a margin in hand, because a slow descent or a long stop in a village can leave you rushing the final stretch. Rushing on steep wooden steps is how tired walkers slip.
Daylight is the other factor. A late start pushes the walk toward the end of the afternoon, when the light fades under the cedars and the lanes grow dim. If your connection falls late in the day, consider starting earlier or staying one more night in the valley so the final walk and the transfer are not squeezed together.
Plan your budget around three main costs: transport, lodging and meals. Bus fares and short rail hops are modest, but nightly stays in traditional inns and the meals you eat along the road will usually add up faster. Build those figures into your plan first, then add the rest.
Bag forwarding adds another cost if you use it between stages, so price it in before you leave home. Carrying only a daypack on the trail keeps that line item small, while forwarding your main luggage makes the walk lighter but adds to the total. Weigh the expense against how much you want to carry on the climb, and decide early so you are not making last-minute choices at a station kiosk.
Finally, keep a little money in reserve for the unexpected. A missed bus or an extra night in a village may cost more than planned, and a flexible budget makes those detours feel like part of the adventure rather than a setback.
How Does Luggage Forwarding Work on the Trail?
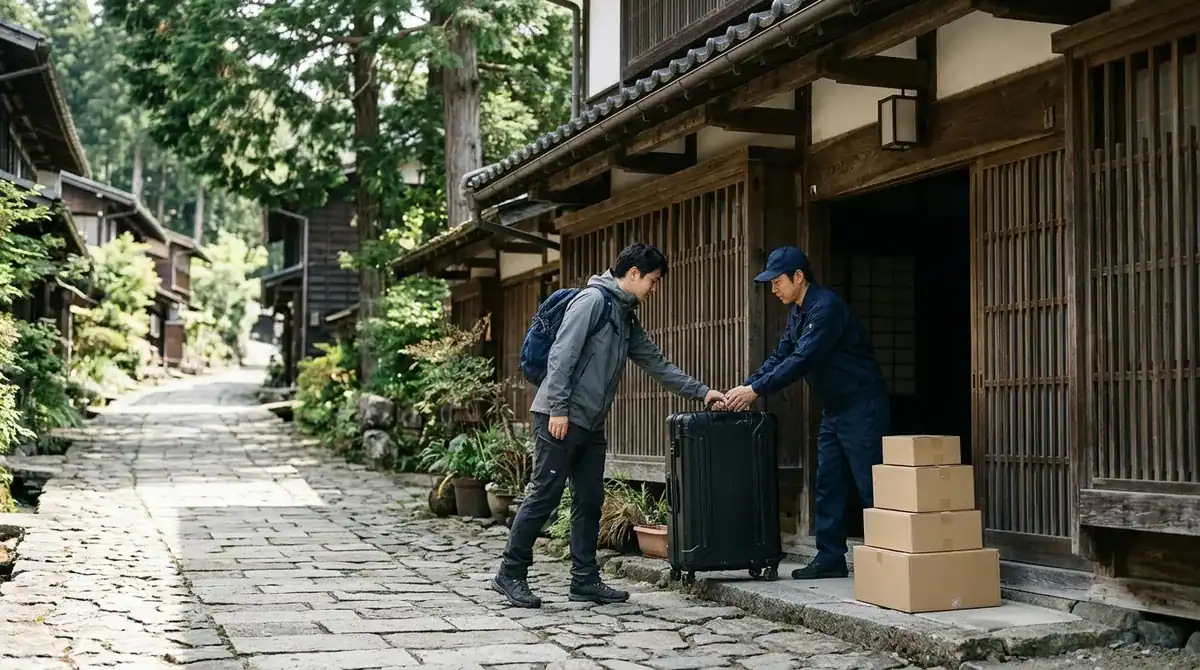
Between Magome and Tsumago, a seasonal baggage service carries your larger bag ahead while you walk the stage with only a daypack. You hand the bag over in Magome during the morning window and collect it in Tsumago later in the day, so your shoulders get a rest on the climb to the pass.
The drop-off window is short. The regional walking guide lists bag drop-off from 8:30 to 11:30, with pickup available after 13:00. Plan your morning around that cutoff. If you reach the Magome counter after 11:30, you will be carrying your bag up the hill yourself.
Prices are where many walkers get confused. The regional walking guide lists 1,000 yen per bag for the Magome to Tsumago delivery, but the FAQ lists 500 yen per bag for service running daily from March 20 to November 30. Regional tourism pages do not always publish the same details, so the figures you see may not match what you find on the day. Check the current rate before you set out, and keep the cost in your budget as a range until you have confirmed it.
The Nakasendo Luggage Transfer Service opened in August 2023 and is another way to move bags along the route. In general, forwarding prices depend on distance and the number of bags. One small bag over a short stage will cost less than several large suitcases sent over a longer leg. When you ask for an estimate, give the exact stage, the number of bags and the dates you plan to walk, so the quote reflects your trip rather than a general guess.
Packing is what makes the service worthwhile. Put the items you need on the climb into a daypack: water, a light rain layer, a warm top for the cooler mornings in the valley, your camera and a snack. Send the larger bag ahead, but keep a change of socks and a small toiletry kit in the daypack in case your bag arrives later than you expect or your plans shift.
Build a small margin into your timing. Pack the forwarding bag the night before, label it clearly with your name and the dates of your stay, and head to the drop-off with time to spare before the cutoff. A few minutes lost on a busy morning can mean walking the whole stage with a suitcase on your back, and that is exactly the burden you were trying to leave behind.
Village Stops, Ryokan Manners and Local Food
Overnight stops change the rhythm of the walk. Once the pass is behind you and the last descent is done, the post town becomes your base for the night, and the day visitors have already headed back down the road. Stay long enough to watch the village in evening light, when lanterns glow behind paper screens and the wooden eaves turn from gold to deep blue. Walking the lanes after dark is quiet in a way the daytime route never is.
Pick your stop with tomorrow in mind. After a demanding climb, a village with a short walk to the next post town keeps the following day relaxed. A long onward stage on tired legs can turn a pleasant trail into a grind, so choose the inn that leaves you the easier morning.
Ryokan etiquette starts at the front door. Remove your shoes in the entryway, called the genkan, and step up onto the wooden floor in the slippers the inn provides. Turn your shoes to face the door, so they are easy to slip back on when you leave. Many ryokan also ask you to change into a separate pair of slippers before entering a tatami room, and to take them off again at the threshold, so watch what the staff do and follow their lead.
Tell the inn when you expect to arrive, especially if a long stage or a slow descent might push your check-in later than planned. Dinner is usually served at a set time, so confirm when it begins and be ready to sit down. Arriving with a sweaty, muddy pack is normal on this trail, so ask the staff where you can clean up before you change for the evening.
Old wooden buildings carry sound easily. Keep your voice low in corridors and stairwells, close sliding doors gently, and avoid loud conversation once the house settles for the night. In a shared dining room, greet the other guests with a short bow, wait for everyone to be seated before you begin, and keep your camera away from other people’s plates and faces.
The food reflects the valley’s ingredients and its cool mountain climate. Expect buckwheat soba noodles, river fish, pickled vegetables, mountain greens and miso-based soups, along with simmered dishes often served in small lacquered bowls. Meals in the post towns tend to be simple, seasonal and filling, which suits a day of climbing. Some village eateries close early, so do not plan on an evening snack after the last light fades. Eat a substantial lunch before the afternoon walk, and carry a few snacks in your daypack.
Travelers with food allergies need to plan ahead. Tell the inn about your allergies when you book, and remember that dashi stock, soy sauce and miso can hide ingredients you might want to avoid. Write your allergies in Japanese on a card, and carry a translated card for smaller eateries where staff may not speak English. Showing the card is much easier than explaining a complicated allergy at a counter during a busy lunch.
Cultural Etiquette in the Preserved Villages
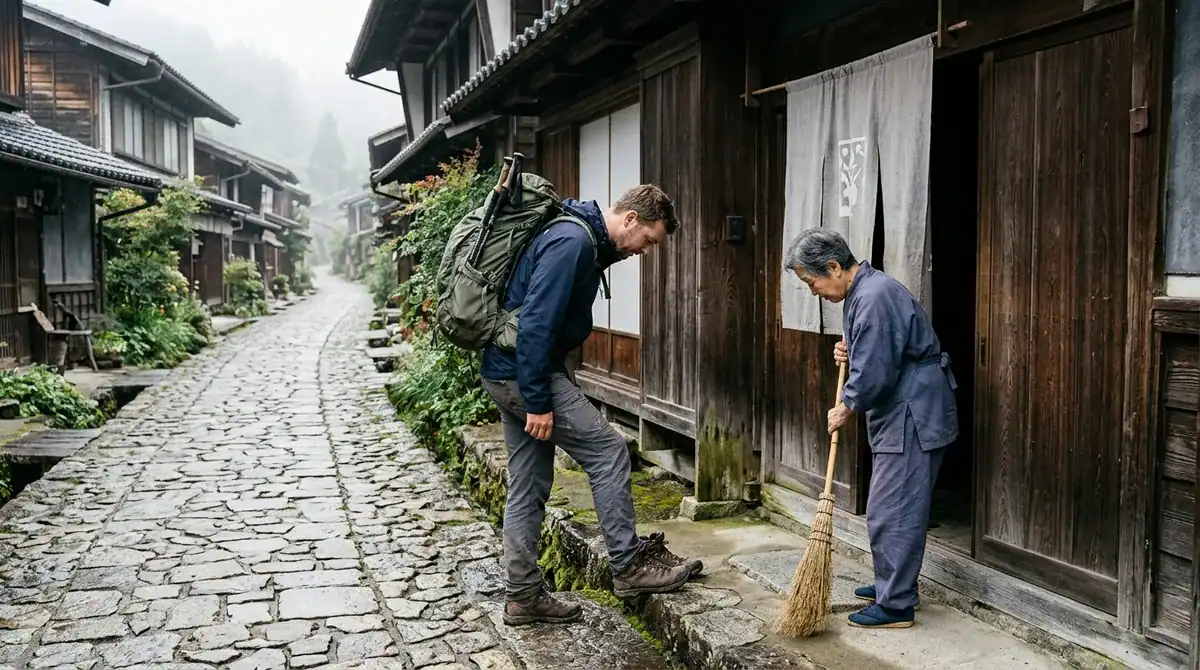
Tsumago protects its historic character through daily habits, and visitors play a part. The village’s official website restricts vehicle traffic on its main road from 10:00 to 16:00, and it directs drivers to the Second or Central parking lot, listed at 500 yen per day. If you arrive by car, park there and walk the last stretch into the village. You will see more of the street on foot anyway.
Preservation shapes almost everything else you will do along the route. Local guidance asks visitors to protect the cultural sites, plants, wildlife and historic markers that give the post towns their character. Treat a weathered wooden sign or a stone marker as part of the road’s history, not as a prop for a quick photo.
Stay on the marked paths, even when a shortcut through the undergrowth looks tempting. On the climb toward Torii Pass, cutting across a slope can loosen soil and damage the roots that hold the hillside together. If the path is muddy, slow down and step carefully rather than widening the route for the walkers behind you.
Leave plants where you find them. Wildflowers, ferns, moss and leaves along the trail are part of what makes the cedar slopes feel so old and alive, and a single picked bloom takes something from the next walker. Keep your distance from wildlife as well, and let birds and small animals go about their business undisturbed.
The villages are quiet by design. Their lanes are narrow, their houses sit close together, and families live behind those sliding screens and wooden fronts. Keep your voice low as you walk through, especially in the early morning and in the evening, when residents are going about their routines.
Photography needs extra care. Ask before you photograph a resident, and wait for a clear yes before you raise your camera. Private homes are off limits unless the owners give permission, so do not lean over a fence or shoot through a doorway to capture an interior view. A smile and a small gesture toward your camera usually makes the question easy, and if the answer is no, accept it gracefully and move on.
Trail maintenance depends on local people, who keep the paths, steps and village edges in good shape for the walkers who follow. You can help by packing out everything you bring in, including wrappers, tissues, fruit peels and empty bottles. Keep a small zip bag in your daypack for used items so your trash stays with you until you find a proper bin. Leave the route cleaner than you found it, and the next group will have the same quiet trail to enjoy.
Do You Need Bear Bells and a Trail Map?
Yes, carry a paper map and a bear bell, and add a few simple habits that will do more for your safety than any single gadget. The forest sections of the Nakasendo are quiet and green, and wild animals share them with walkers, so announcing your presence is a sensible precaution.
Bear bells are a common choice for hikers in mountain forests. A small bell clipped to your pack jingles with each step, so animals can hear you coming well before you round a bend. On the quieter cedar stretches, keep talking or humming, and clap your hands at blind corners and where the path dips into thick undergrowth. If you see an animal, keep your distance and never approach it for a photograph.
Navigation comes next. Download the route to your phone before you leave the village, because signal can fade under dense cedars and in the folds of the valley. Pair it with a paper map, which still works when a battery dies. At every junction, stop and read the signs, then match them to your map before you step onto the next section. Note the name of the next post town so you know what the sign should say.
Tell someone your plan before you set out. Leave a note with your inn or a friend listing your start point, your intended route, your expected arrival time and the time you expect to finish. This matters most on the Torii Pass crossing, where fewer walkers means fewer people nearby if you need help. If the day runs late, send an update rather than waiting until the light starts to fade.
Dress in layers. Mornings in the valley can be cool, the climb warms you quickly, and the air under the trees can feel damp on the descent. A light base layer, a warm top and a rain jacket let you adjust without digging through your pack on a narrow path. Carry more water than you think you need, along with snacks for the stretches between villages, where shops may be limited or closed by the time you arrive.
The Yabuhara to Narai route rewards these habits more than the main stage does. With far fewer walkers on it, you are less likely to catch up with someone who knows the way, so your map, your signs and your own attention carry the navigation. If the path becomes unclear, stop where you are, look for the last marker you passed, and check your map instead of pushing ahead on a hunch. Retrace your steps to that marker. If you are still unsure, ask at the next inn or at the Tsumago Tourist Information Center, and wait for a clear answer before you go on.
Choosing Your Own Nakasendo Walking Plan
Start with the number of days you can give the Kiso Valley. With a single day, book one night in Magome or Tsumago and walk the Magome direction. With three days, sketch the full plan on paper and mark where each night falls, so you can see whether the Torii Pass day fits your energy.
Once your dates are set, write to the inns on your list. Ask whether they serve dinner at a fixed time, how late they accept arrivals, and whether they can recommend a luggage option for the morning you walk. Their answers will shape your daily timing more than any guidebook will.
Next, test your gear before you leave home. Load your daypack with the water, rain layer, snacks and camera you plan to carry, then walk a local hill for an hour. If your shoes rub or your shoulders ache, adjust the pack or the footwear now, while there is still time to buy something that fits.
Finally, make the decision that matters most: which stage comes first. If you are unsure, begin with Magome to Tsumago, then decide on Torii Pass after you have felt the climb in your own legs. Book that first night, confirm your transport to the trailhead, and fill in the remaining days around it.