
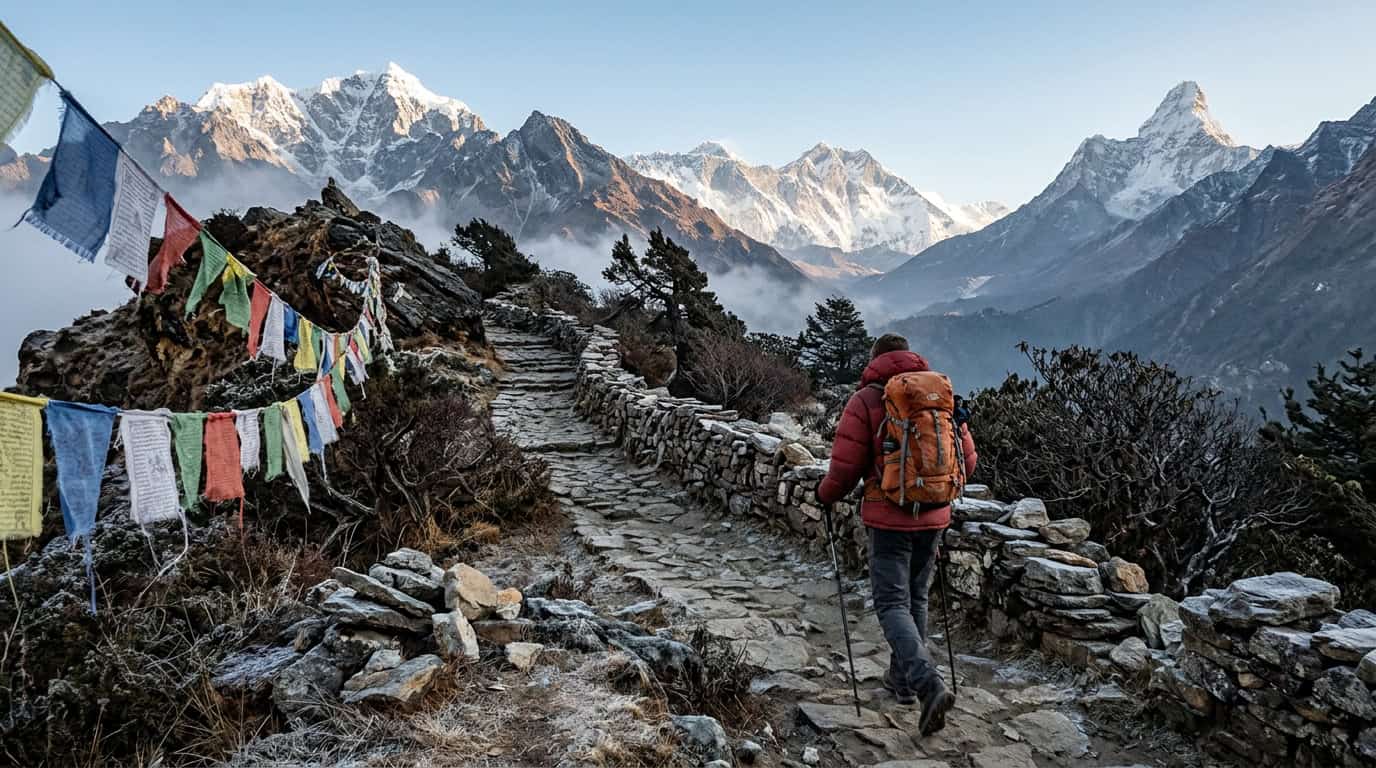
A Nepal trekking itinerary for the classic Everest Base Camp route typically runs about two weeks, starting and finishing at Lukla, with a two-day walk up to Namche Bazaar in the first stretch. That structure comes from the Nepal Tourism Board, which also recommends spending a few days acclimatizing around Namche and another rest day near Dingboche. Spring and autumn are the best seasons for this trip, when the mountain views are most reliable. Most days are spent winding through rhododendron forests and stone-walled villages, so the schedule feels like a steady climb rather than a race.
Pacing is what turns a good itinerary into a safe one. The CDC Yellow Book classifies gaining 500 m (1,650 ft) per day in sleeping altitude above 3,000 m, without an extra acclimatization day for every 1,000 m, as a high-risk pattern for acute mountain sickness. Even on standard Everest Base Camp schedules, altitude illness can approach 30% at higher elevations, so treat your rest days as part of the route rather than lost time. Build in a buffer day or two, and watch for persistent headaches, nausea, or breathlessness at rest. If symptoms worsen, descending is the right call, and a flexible itinerary makes that choice far easier.
Key Takeaways
- Plan about two weeks for the classic Everest Base Camp trek, starting and finishing at Lukla, and treat the rest stops in Namche and near Dingboche as essential parts of the route rather than spare time.
- Avoid gaining 500 m (1,650 ft) per day in sleeping altitude above 3,000 m without adding an extra acclimatization day for every 1,000 m, since the CDC Yellow Book classifies that pattern as high-risk for acute mountain sickness.
- Aim for spring or autumn on the Everest route, when mountain views are most reliable, and choose Manang or Mustang for summer trips, since the monsoon brings roughly 80% of Nepal’s rain from June through September.
- Budget for permits early, because TIMS fees are NPR 1,000 for SAARC citizens and NPR 2,000 for other applicants, while Upper Mustang’s restricted-area permit costs USD 50 per person per day.
- Descend right away if headaches, nausea, or breathlessness at rest persist, or if you notice loss of coordination or unusual drowsiness, rather than waiting until morning to decide.
How Long Should Your Nepal Trek Be?
Plan for about two weeks if you want the classic Everest Base Camp trek, and settle that before you look at any other route. Your trip length is the first filter for everything else, because it decides which trails you can walk without rushing.
On the Everest route, the two-day walk from Lukla to Namche Bazaar is only the beginning of the schedule. The walking days carry you forward, but the stops in Namche and near Dingboche give your body time to adjust to thinner air. When you count the days, include those rest stops as part of the route. They are not spare time you can cut when you feel strong.
A shorter trip calls for a different mindset. If you have a week or so, look at lower-altitude options such as Poon Hill and Annapurna Base Camp. You still get the rhododendron forests, terraced hillsides, and long views of the Annapurna range, but you are not building your schedule around the sleeping altitudes that make Everest so demanding. Squeezing the Everest route into a short holiday is the mistake to avoid, because it means climbing faster than your body can keep up.
Season matters as much as length. If your dates fall between June and September, you are in the monsoon, when roughly 80% of Nepal’s rain arrives. Trails in the south and mid-hills can turn muddy and slippery, and cloud can hide the mountains for days. Rain-shadow areas such as Manang and Mustang stay drier in those months, making them the better choice for a summer trip. Their scenery is different, with wide, high valleys and monastery-dotted villages, so the route changes the whole character of the trip.
Once you know your route, count backward from your flight home. Leave room for at least one or two buffer days, since flights to and from Lukla depend on the weather and can be delayed or cancelled. A buffer day is also useful if someone in your group feels unwell and needs an easier day.
Write your dates in a notebook, and mark the days you will walk, the days you will rest, and the days you have kept free. This simple sketch will show you quickly whether your plan is realistic, and it will make the rest of your planning feel much calmer.
What Does a Two-Week Everest Base Camp Itinerary Look Like?
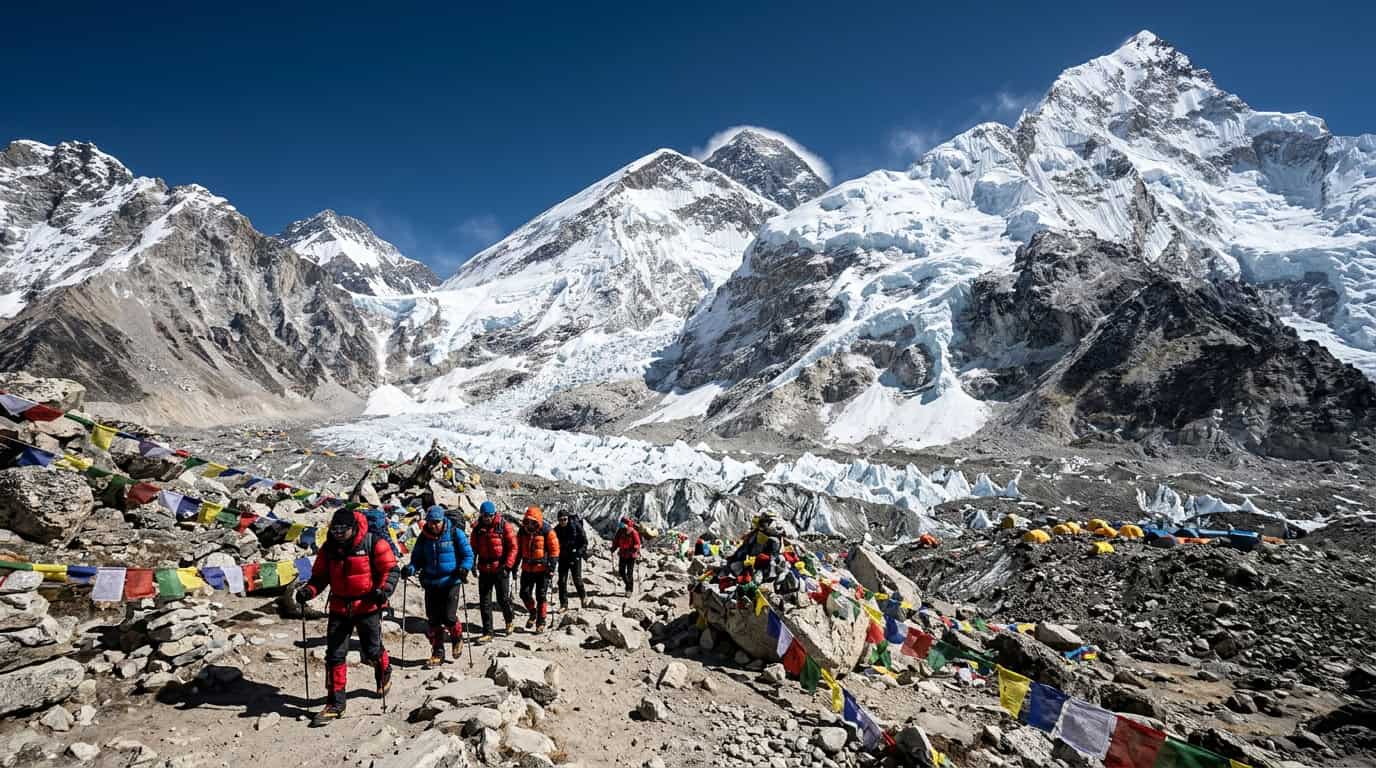
A typical two-week Everest Base Camp itinerary starts and ends in Lukla, climbs in deliberate stages, and spends its middle days resting in high villages so your body can catch up with the altitude. The walking days carry you forward, but the rest stops are what make the trip work.
Most trekkers reach Lukla on a short, dramatic flight, with the airstrip built into a steep mountainside. The walk begins the same day and drops gently toward the river. The first few days feel almost easy, which is part of the design. Your legs warm up while the air is still thick enough that altitude barely crosses your mind.
Here is how the classic route usually unfolds, step by step:
- Day 1: Fly into Lukla and walk to Phakding, following the Dudh Koshi river through pine and rhododendron forest.
- Days 2 and 3: Cross the suspension bridges, pass the village of Monjo and the national park entrance, then climb the steep, switchbacking trail up to Namche Bazaar.
- Days 4 to 6: Settle into Namche, the Sherpa trading town stacked on a hillside. Hike to the Everest View viewpoint, stroll through Khumjung, and keep at least one day fully free for rest.
- Day 7: Walk through the forests to Tengboche, where the monastery sits with mountains rising behind it.
- Day 8: Continue to Dingboche, a farming village of stone walls and potato fields with wide views up the valley.
- Day 9: Take an acclimatization day near Dingboche. A morning climb to a nearby ridge gives you height without adding a sleeping altitude, and then you return to the village to rest.
- Days 10 and 11: Walk past Pheriche and on to Lobuche, then continue to Gorak Shep, the last village before Base Camp.
- Day 12: Walk to Everest Base Camp, then return to Gorak Shep. Many trekkers climb Kala Patthar before sunrise for a view of Everest’s summit.
- Days 13 onward: Descend steadily through Dingboche, Tengboche, and Namche, then walk the familiar trail back to Lukla.
The return leg is one of the best parts of the trip, because you are finally walking downhill. Your lungs feel the relief first, and the forests look greener and softer than they did on the way up. Use that time to notice the details you missed while you were focused on your footing, like prayer flags, yak trains, and the sound of water in the gorge.
Pace the walking days so each one ends at a sensible elevation. Many trekkers find the hardest part is not the climbing but the restraint, since it is tempting to push past the planned stop when you feel good. Resist that urge, especially after Namche. A good guide or trekking company can help you stick to the schedule, and a slower pace usually leaves you with more energy for the high day at Base Camp.
Keep a small daily log in your pocket. Note where you slept, how you felt in the morning, and whether your appetite and sleep held up. These notes will help you judge whether you can continue upward or need an extra rest day, and they will become some of your favorite pages once you are home.
How Do You Build Acclimatization Into a Nepal Itinerary?
Build acclimatization into your Nepal itinerary by adding rest days before you book flights, then set your travel dates around that schedule. Extra days are a planning choice, so they belong on paper before anything is locked in.
Start by counting sleeping altitude rather than kilometres. Official guidance classes a daily gain of 500 m (1,650 ft) in sleeping altitude above 3,000 m as a high-risk pattern when you do not add an extra acclimatization day for every 1,000 m of climbing. On a long trek, that rule turns a simple list of overnight stops into a checklist. Write down the village and elevation for each night, then look for any stretch where you climb quickly for several nights in a row.
On the classic Base Camp route, the steepest rise in sleeping altitude comes after Namche, so that is where a spare night is most useful. A good approach is to add one night at Dingboche and one spare day at Pheriche or Lobuche, stretching the basic two-week schedule. Those extra nights do not add distance. They give your body time to adapt before you climb higher.
It is also worth knowing how common altitude illness can be. Even on standard schedules, the rate can approach 30% at higher elevations on some Nepal routes, including Base Camp. You do not need to be alarmed by that figure, but it is a good reason to plan slack into your trip instead of hoping you will not need it.
Learn the warning signs before you leave home. Headaches, nausea, and breathlessness at rest are the early signals most people hear about. Two others need faster action: loss of coordination, such as stumbling or struggling to walk a straight line, and confusion or unusual drowsiness. If you notice either one, stop climbing and descend, and do not wait until morning to decide. Going higher with symptoms is the most common way a manageable problem becomes a serious one.
Before you go, talk with a clinician about your health history, any medications you take, and what you should do if symptoms appear on the trail. A doctor can tailor advice to you in a way that general guidance cannot, and that conversation is worth having well before your departure date.
On the trail, keep your pace conversational. If you cannot speak in full sentences while walking, slow down. Eat and drink regularly, and sleep as well as you can at each stop. Check in with your group each morning about how everyone feels, because people often notice changes in others before they notice them in themselves.
When you draft your itinerary, mark every rest day in a different colour so you can see at a glance how much of the trip is spent moving upward. If the plan has more walking days than rest days in the high section, that is a sign to reshape it. The extra days might feel like lost time on paper, but they are the part of the route that gets you to Base Camp in good shape.
When Is the Best Season to Trek in Nepal?
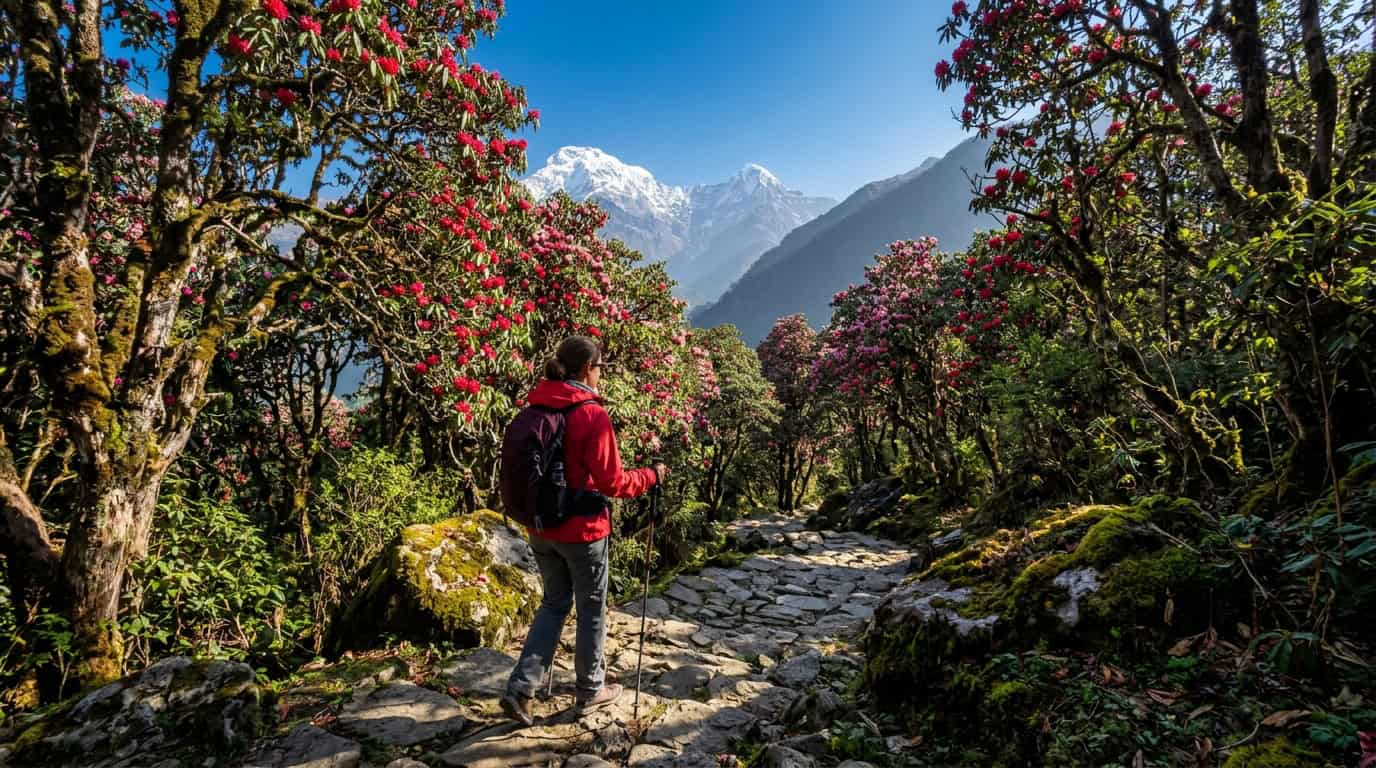
Spring and autumn are the best seasons to trek in Nepal because the skies are clearer and the trails are drier than at any other time of year. Official climate guidance for Nepal names these two periods as the main trekking seasons, and most itineraries are built around them.
The monsoon is what changes the plan. From June through September, the country receives roughly 80% of its annual rainfall. Trails in the south and mid-hills turn to mud, rivers rise, and low clouds can hide the peaks for days at a time. The views that were the reason for the trip disappear, and the walking becomes slower and more tiring.
That doesn’t mean you have to cancel your summer plans. Rain-shadow areas sit behind the high ridges, where the monsoon clouds lose most of their moisture before they arrive. Manang and Mustang are largely dry in these months, which is why monsoon treks are usually taken there instead of on the classic Everest route.
Each area feels distinctly different. Mustang is a high desert of red and ochre cliffs, with whitewashed villages, caves, and monasteries perched on the slopes. Manang offers wide valleys, glacier-fed lakes, and views of the Annapurna peaks that are often clearer than they would be farther south during the rains.
Upper Mustang is a restricted area, so it comes with a cost. The published permit schedule charges USD 50 per person per day, which means a week in Upper Mustang adds USD 350 before you spend anything on food or lodging. Add that figure to your budget early so it doesn’t surprise you at the checkpoint.
Pack for both heat and cold. Days in the rain shadow can be bright and warm, but nights at altitude drop quickly, and the sun is strong at higher elevations. The pacing rules from earlier still apply, too, because Manang and Mustang sit well above 3,000 m. A dry valley is easier underfoot, but your body still needs the same rest days to adjust.
Which Route Fits Your Schedule?
Pick your route by your dates first, then build the itinerary around it. With about two weeks in spring or autumn, the classic Everest Base Camp trek fits best. Shorter holidays suit Poon Hill or Annapurna Base Camp, and monsoon travelers should look at Upper Mustang.
| Route | Typical trip length | Season fit | Main tradeoff |
|---|---|---|---|
| Everest Base Camp | About two weeks, starting and finishing at Lukla | Spring and autumn | Highest sleeping altitudes, so the schedule needs rest days; requires a licensed guide and TIMS card |
| Annapurna Base Camp | A week or so, based in the Annapurna Conservation Area | Spring and autumn | Lower than Everest, but still needs steady pacing and a shorter window for weather delays |
| Poon Hill | A short trip of around a week | Spring and autumn | Lower altitude means fewer close-up views of high peaks |
| Upper Mustang | Several days inside the restricted area | Monsoon, when the rain-shadow valleys stay dry | Restricted-area permit required, at USD 50 per person per day |
| Annapurna Circuit | A longer loop, well beyond a short holiday | Spring and autumn, with the Manang section drier in summer | Licensed guide and TIMS card required on listed routes, plus a high pass crossing |
Read the table with your calendar open. If your dates are fixed in June or July, the Everest route is off the table, and Upper Mustang or the drier parts of Manang become the natural choice.
Paperwork changes the budget as well as the schedule. Routes such as Everest Base Camp and the Annapurna Circuit need a licensed guide and an agency-issued card, so check the TIMS card rules before you book a flight. Upper Mustang is a restricted area, so it needs its own permit, and that cost should sit in your budget from the start.
Annapurna Base Camp is a good middle option. You still walk through rhododendron forest and terraced fields, and the views of the Annapurna peaks feel close, but the trip asks less of your lungs than the Everest route. Use the extra time for slow mornings in the villages rather than trying to squeeze in more walking.
Poon Hill works well for a first trek or a tight schedule. The trail climbs to a viewpoint at dawn, and many walkers return to their guesthouses by afternoon, which leaves room for a relaxed evening. Expect a gentler experience overall, with the high mountains appearing more like a backdrop than the main event.
Upper Mustang is the monsoon option. Its red and ochre cliffs, whitewashed villages, and caves feel nothing like the forests farther south. Plan for dry days and cold nights, and remember that the permit cost is charged per day, so a shorter stay costs less.
Do You Need a Guide and Trekking Permits?
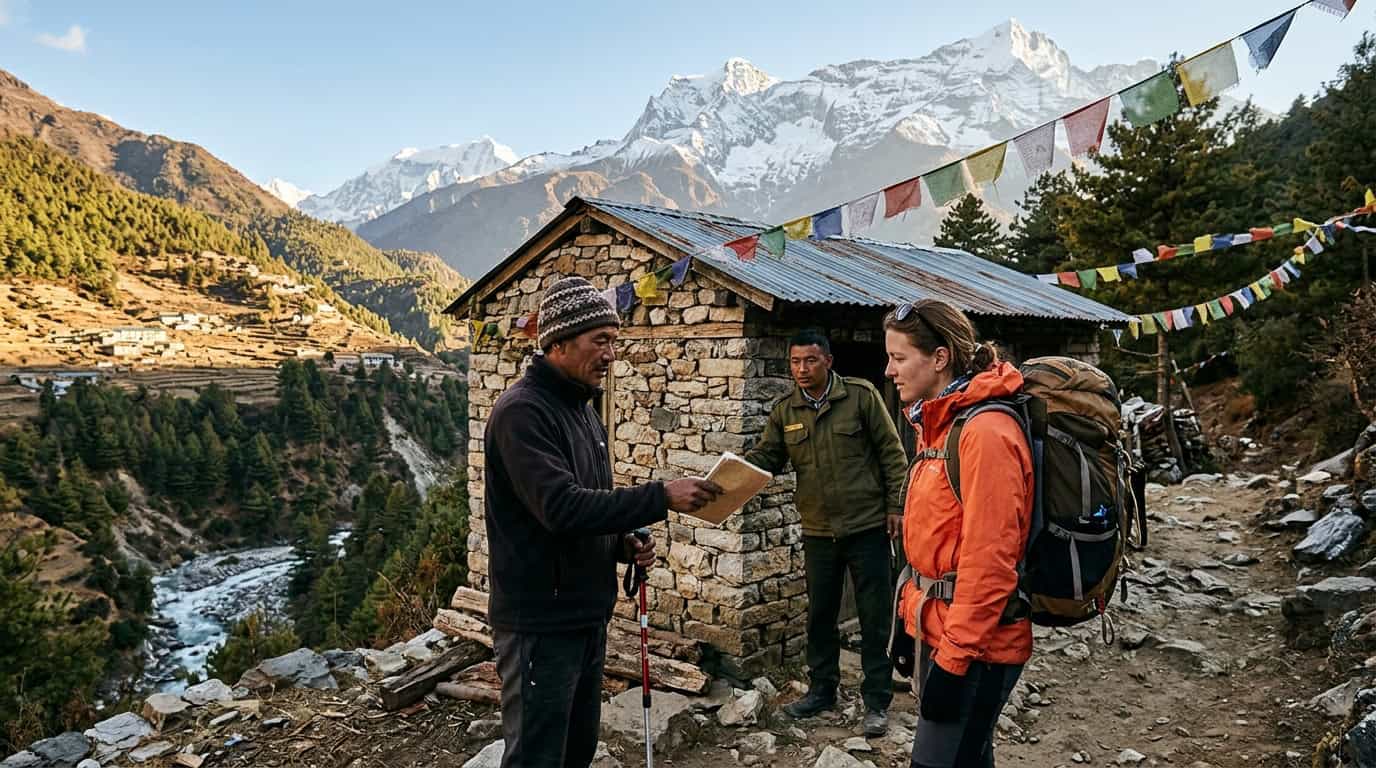
On listed routes such as Everest Base Camp, the Annapurna Circuit, and the Manaslu Circuit, you must hire a licensed trekking guide and carry an agency-issued TIMS card. Some regions also need a separate restricted-area permit, and both requirements should be settled before you fix your daily stops.
TIMS stands for Trekkers’ Information Management System. The revised provision, effective March 31, 2023, sets the rules for these listed routes, and the card has to come through a trekking agency. Plan the agency and your guide early, because you cannot walk a listed route on your own with a card you arranged for yourself. The fee is modest but adds up in a group. Citizens of SAARC countries pay NPR 1,000, and other applicants pay NPR 2,000. A pair of trekkers from outside the region would therefore pay NPR 4,000 in TIMS fees alone.
Restricted-area permits follow a different system. They come from Nepal’s Department of Immigration, and a TIMS card does not cover them. You must carry the permit for the whole trek, because immigration staff or police can ask to see it at any point along the way.
Restricted-area fees are calculated by time, which makes the itinerary a financial decision as well as a physical one. Take the Gorkha Manaslu Area, which charges USD 100 per person per week from September through November. Suppose you plan a ten-day walk there in October. You would pay USD 100 for the first week, plus USD 15 for each of the three days beyond it, for a total of USD 145 per trekker. The weekly rate applies only in that September to November window, so the month you choose changes the number you need to budget.
This is where the acclimatization advice from earlier becomes a budget question. Every extra rest day you add in a restricted zone also adds to the permit bill, so a spare day at Pheriche or Lobuche is not just a matter of comfort. Build the extra days into your calculation before you commit to dates, not after.
Guide costs are a separate line item, and they vary with the agency, the length of the trek, and the services included. Ask for a written breakdown that lists the guide’s wages, meals, lodging, and permit fees. A clear quote makes it easy to compare offers and see exactly what you are paying for.
Keep your documents in a single waterproof folder with your passport, TIMS card, and restricted-area permits. Keep photocopies in a separate bag as well. Checkpoints can be busy and the trail can be wet, so paperwork that is easy to find will save you time at every stop.
Planning Your Daily Rhythm on the Trail
Most good trekking days follow the same shape: an early start, a steady middle, and a slow afternoon. Once you settle into that rhythm, the itinerary stops feeling like a list of distances and starts feeling like a routine you can keep for weeks.
Start walking early. Leave the lodge while the air is cool and the trail is quiet, and aim to reach your stop before the clouds build. In the Khumbu, the mountains are usually clearest in the morning, so the first hours are also the best time for photographs of Ama Dablam and Thamserku.
Keep the walking days moderate. Choose a daily distance that lets you arrive at your stop in good time, rather than pushing on to the next village because you feel strong. Then use the afternoon to recover. A short wander through Namche, a cup of tea on a sunny terrace, or a nap under a blanket in Dingboche is not wasted time. It is when your body catches up with the altitude and the day’s walking.
Plan your lodge stops ahead of time, especially in spring and autumn, when most trekkers share the same trail. Popular teahouses in Namche, Tengboche, and Dingboche can fill quickly, and a late arrival may mean a bed in a crowded room or a longer walk in the dark. Ask your agency or guide to confirm beds for each night, and find out which villages have a backup lodge if your first choice is full.
Pack for both cold mornings and warm middays. Carry more water than you think you will need, and treat or filter it at every stop. Dress in layers: a warm jacket for the chilly start, a light fleece you can remove by mid-morning, and a windproof shell for exposed ridges. The sun is strong at altitude even when the air feels cold, so sunscreen and a hat belong in your daypack.
A typical day might look like this:
- Before first light: wake, pack your bag, and eat a warm breakfast
- Early morning: start walking while the trail is cool and the views are clear
- Late morning: stop for tea and a snack, and take off a layer
- Afternoon: reach your lodge, wash up, and rest
- Evening: check the next day’s route and the weather with your guide
Booking Your First Nepal Trek With Confidence
Your next step is small and specific: choose one route and one month, then write both at the top of a blank page. If your dates fall in spring or autumn and you have about two weeks, start with the classic Everest Base Camp itinerary. If you have a week and want fewer high sleeping altitudes, put Poon Hill or Annapurna Base Camp at the top instead.
Then contact a licensed trekking agency. Ask them to confirm how the TIMS card and guide arrangements work for your chosen route, and request a written quote that breaks down guide wages, meals, lodging, and permit fees. Get at least two quotes so you can compare exactly what each one includes.
Before you pay any deposit, check the agency’s day-by-day plan against your rest days. Look for at least one spare night above 3,000 m, and make sure one of those nights falls after Namche. If the high section has more walking nights than rest nights, ask the agency to reshape it.
Finally, book an appointment with a clinician who works with travelers. Bring a list of any medications you take, and ask what symptoms should make you stop climbing and descend. Write that appointment into your calendar beside your flight dates, so your first Nepal trek moves from a daydream to a plan on paper.