
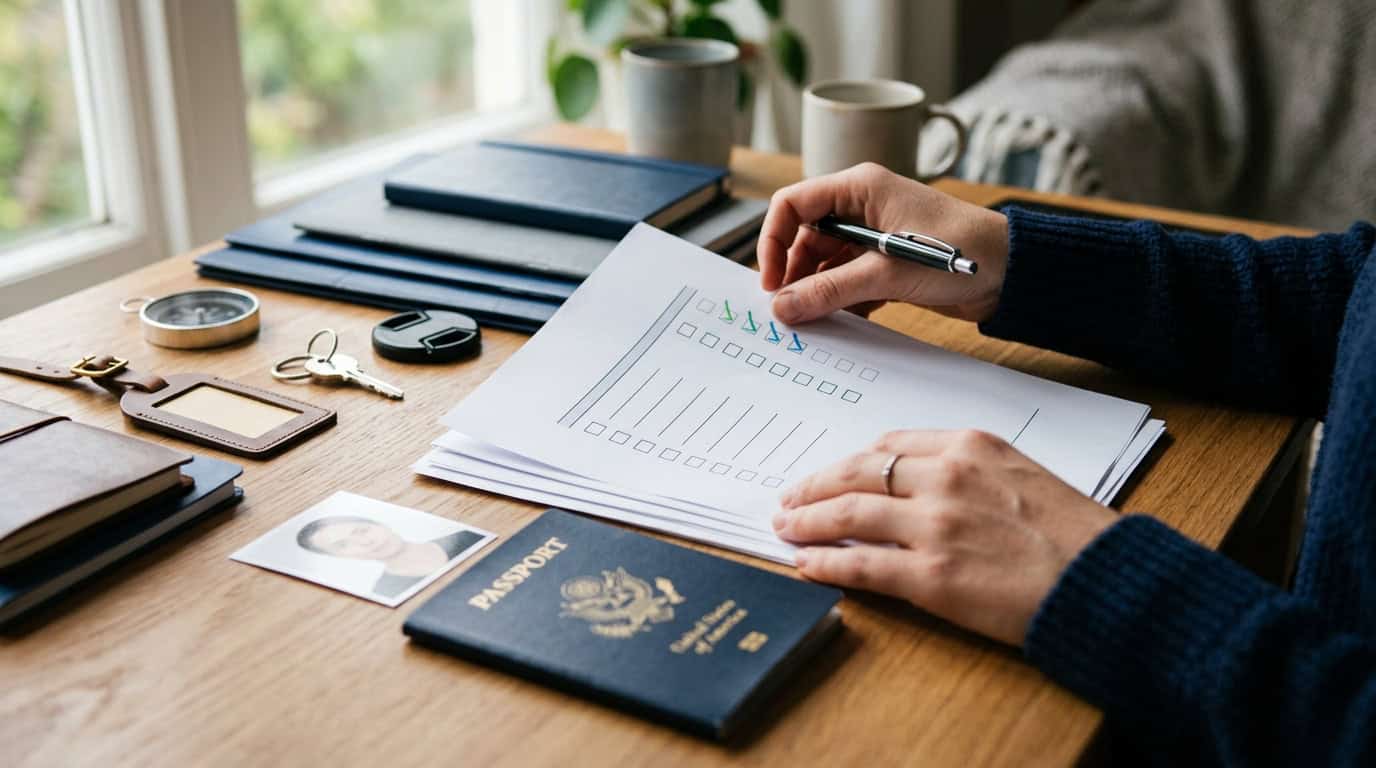
A well-prepared visa application checklist can turn a stressful pile of paperwork into the first exciting step toward my next adventure. I’ve learned that small details, such as an expiring passport, a missing bank statement, or an incorrect visa category, can stand between me and the moment I step into a new country. Starting with the right requirements helps me avoid delays, protect my travel plans, and focus on the experiences waiting beyond the border.
Requirements vary by destination, nationality, purpose of travel, and length of stay, so I always treat the relevant embassy or immigration authority’s checklist as the final word. From passport documents and photographs to proof of funds, accommodation, insurance, and appointments, checking each item early gives me time to fix unexpected gaps. With the essentials organized, the journey feels closer and far more manageable.
Key Takeaways
- Use the destination’s official embassy or immigration authority checklist as the final source of truth, and confirm whether you need a visa, electronic travel authorization, or neither. Select the category that matches your nationality, travel purpose, destination, application location, and length of stay.
- Prepare a complete, consistent document file, including a valid passport, application forms, photographs, travel and accommodation details, proof of funds, insurance, and any required invitations or employment or study records. Arrange documents as requested, obtain certified translations when necessary, and verify that names, dates, and passport details match everywhere.
- Confirm photo specifications, fees, payment methods, appointment requirements, passport-validity rules, and processing timelines before applying. Submit well before departure and allow extra time for busy periods, additional document requests, holidays, and delays.
- Prevent avoidable refusals by proofreading every form, checking expiration dates and signatures, saving digital copies and receipts, and avoiding nonrefundable travel bookings until visa approval and processing conditions are clear.
Confirm Your Visa Category
I start every visa application checklist by confirming whether I need a visa, an electronic travel authorization, or neither for my nationality and destination. These rules can change, so I check the destination embassy or immigration authority before gathering documents because its current requirements always take priority. I also verify whether I must apply from my country of nationality, legal residence, or another approved location. This first step prevents a simple misunderstanding from affecting an exciting trip, whether I am picturing seaside walks, a study program, or a new work assignment.
Next, I match my application to the exact reason for travel and the length of my stay. A tourism application may require different evidence from a study, work, business, transit, family visit, settlement, or medical treatment application. For a multi-country itinerary, I confirm which destination is responsible for processing my application and whether separate permissions are needed. I write down my travel dates, planned activities, and entry points so they align with the category I select.
Before submitting anything, I compare my draft checklist with the official instructions one more time. I look for category-specific details such as invitation letters, enrollment or employment evidence, proof of funds, accommodation, travel history, photographs, fees, and processing timelines. I also check whether documents need translation, certification, or a particular format because small omissions can cause delays or refusal. A few minutes spent confirming the right category leaves me far more confident as I prepare for the journey ahead.
Prepare Passport And Supporting Documents

I begin my visa application checklist by confirming the correct visa category, application location, and passport validity for my destination, nationality, travel purpose, and length of stay. I then gather a valid passport, clear copies of the biographical page, copies of previous visas, and proof of legal residence if I am applying outside my country of nationality. The core file should also include completed application forms, recent photographs if required, a clear travel plan, accommodation details, and an invitation letter when applicable. Financial evidence, employment or study records, and travel insurance may also be needed, depending on the destination and visa type.
- Valid passport and biographical-page copies
- Previous visas and proof of legal residence
- Application forms, travel plans, and accommodation bookings
- Invitation letters, financial records, and employment or study evidence
- Travel insurance and any destination-specific documents
To make the application easy to review, I keep originals separate from photocopies and arrange the copies in the same order as the official embassy or immigration checklist. Documents that are not in the required language should be paired with certified translations, while digital scans are saved as clearly named PDF files in a secure folder. I also check that names, dates, passport numbers, and travel details match across every document because small inconsistencies can create avoidable delays. Before submitting, I review the official checklist again because requirements, fees, photographs, insurance rules, and document formats can change by destination and visa category.
A well-organized file gives me more confidence as I picture the journey ahead, whether I am planning city walks, mountain trails, or long-awaited time with family. I keep a backup of the complete application, payment receipt, appointment confirmation, and correspondence so I can access them while traveling. If the application center requests originals, I bring them in a protective folder and submit only the copies it asks to retain. This simple preparation leaves fewer surprises between completing the form and beginning the trip.
Check Photos Fees And Timelines
I always check the destination’s official visa instructions for photo specifications before taking new passport photos because small details can matter. Requirements may cover dimensions, background color, facial expression, head coverings, glasses, and how recently the photo was taken. I also confirm the full application fee, whether it is refundable, and which payment methods are accepted, since some locations require online payment while others accept a card or exact cash at an appointment. I keep the payment receipt or confirmation with my documents and budget for possible service, courier, or biometric fees.
Processing times are estimates, not guarantees, so I work backward from my departure date rather than waiting for the fastest advertised turnaround. I check appointment availability as soon as I know my travel plans, especially during popular seasons when interview and biometric slots can disappear quickly. My planning timeline also allows extra time for public holidays, requests for additional documents, passport-retention periods, and unexpected processing delays. As a practical buffer, I aim to submit several weeks or more before departure while following the authority’s rules about how early an application may be filed.
Before submitting, I write down every deadline and save copies of the application, payment receipt, appointment confirmation, and uploaded documents. I also make sure my passport will remain valid for the required period and that I can manage without it while the application is being processed. If the destination offers application tracking, I record the reference number and check messages regularly so a document request does not slow my journey. A careful checklist turns visa preparation into one more step toward the sunrise, market street, or mountain trail waiting at the other end.
Avoid Common Visa Application Mistakes
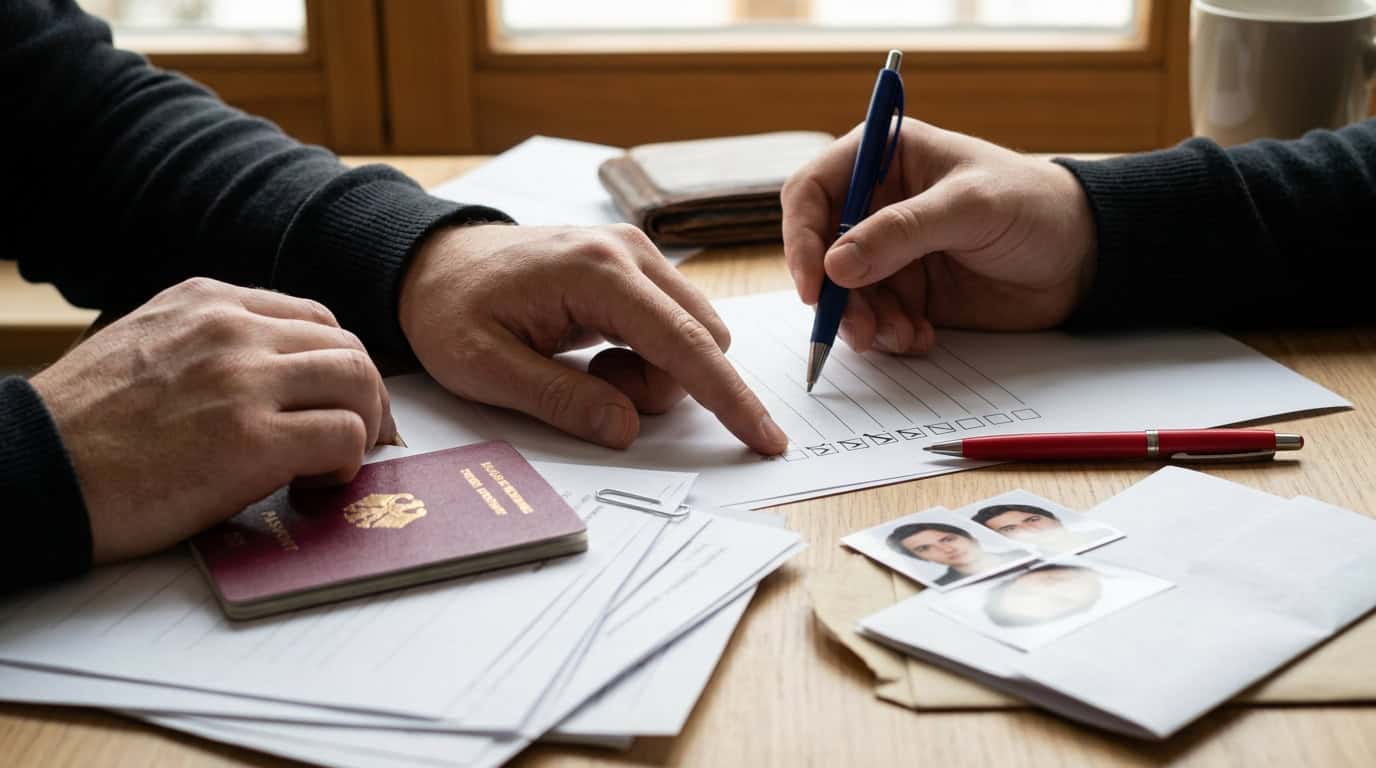
I treat every visa application checklist as a planning tool, not a one-size-fits-all rule. Before gathering paperwork, I confirm whether I need a visa, an electronic travel authorization, or neither. I then match my travel purpose, nationality, length of stay, and application location to the correct category. Choosing the wrong category, submitting an application in the wrong place, or relying on an outdated checklist can cause delays or refusal. I always use the destination’s official embassy or immigration guidance as the final authority.
A careful review helps catch small mistakes that can derail exciting travel plans. I check that every document is current, names and dates match across forms, signature fields are complete, photographs meet the required dimensions, and financial evidence shows enough funds for the trip. Before my appointment, I use this quick pre-submission checklist:
- Correct visa category, application location, and completed form
- Valid passport, required copies, photographs, and supporting documents
- Consistent personal, travel, employment, and accommodation details
- Proof of sufficient funds, insurance, and any required invitations or bookings
- Paid fee, appointment confirmation, signatures, and document translations where required
I also avoid booking nonrefundable flights or accommodation until I understand the processing timeline and any approval conditions. During my final review, I compare each item against the official instructions, check expiration dates again, and arrange documents in the requested order so the appointment feels calm rather than rushed. A few extra minutes of proofreading can protect both my budget and my dream of wandering through a new city, from a sunlit market to a quiet historic street. Once everything is confirmed, I save digital copies and bring the originals and photocopies requested for the appointment.
My Essential Visa Application Checklist
I treat the official embassy or immigration authority checklist as my starting point because visa requirements can vary by destination, nationality, travel purpose, visa category, and application location. Before gathering paperwork, I confirm whether I need a visa, an electronic travel authorization, or neither, then select the correct category for my trip. I prepare accurate documents such as a valid passport, completed forms, photographs, proof of funds, accommodation details, travel plans, and any supporting letters requested. Checking each document against the current official instructions helps me avoid delays caused by missing information or an application submitted under the wrong category.
Once my documents are ready, I confirm the application fee, accepted payment method, processing time, appointment requirements, and any rules about passport validity or translations. I also leave extra time for busy seasons, additional document requests, and possible processing delays, especially when my travel dates are fixed. Before submitting, I review every field, compare names and dates across all documents, save copies of the application, and verify the submission instructions one final time. With this careful preparation, I can turn a confusing visa application into a clear travel-planning milestone and look ahead to the places, flavors, and experiences waiting at my destination.