
The first time I landed abroad with a dead phone and no way to book a ride, I learned how quickly travel magic can turn into stress. A travel eSIM guide can help me avoid that scramble by explaining how to get mobile data working before I leave, without swapping tiny SIM cards at the airport. With the right plan, I can check maps, translate menus, message family, and find my way through unfamiliar streets almost as soon as I land.
Before choosing a plan, I confirm that my phone supports eSIM technology and is unlocked. Then I compare coverage, data limits, activation steps, and whether calls or texts are included. Most travelers will find a prepaid data plan especially convenient, while keeping their regular SIM active for important messages and verification codes. A few minutes of preparation can mean more time watching a sunset, wandering through a neighborhood, or catching the last train without worrying about unexpected roaming charges.
Key Takeaways
- Verify that your phone supports eSIM technology, is carrier-unlocked, and meets the plan’s operating system and network requirements before purchasing or installing a travel eSIM.
- Choose a country, regional, or global plan based on your itinerary, comparing coverage, data limits, validity period, hotspot access, speed restrictions, and total cost rather than headline price alone.
- Install the eSIM over reliable Wi-Fi before departure, then select it for mobile data after landing while disabling data roaming and automatic data switching on your home line to prevent unexpected charges.
- Most travel eSIMs are data-only, so keep your home SIM active for important texts and verification codes, use messaging apps for calls, monitor data usage, and save essential maps and travel details offline.
Travel eSIM Basics Abroad
A travel eSIM stores a mobile plan digitally inside my phone, allowing it to connect to a local or roaming partner network when I arrive abroad. I think of it as a ready-to-use bridge between landing at the airport and finding my way through a new city, without searching for a SIM shop or opening the phone tray. Most travel eSIMs are prepaid and data-only, which is usually enough for maps, translation, ride bookings, messaging apps, and travel updates. Before buying, I check that my phone supports eSIM technology, is carrier-unlocked, and works with the plan’s network bands.
I usually keep my home SIM active for incoming texts, especially one-time verification codes, while selecting the travel eSIM for mobile data. In my phone’s settings, I disable data roaming on the home line and make the travel eSIM the primary data line to reduce the risk of unexpected charges. This setup lets me leave my physical SIM in place and avoid the small but stressful process of swapping cards, storing a tiny SIM safely, and remembering which number is installed. Because data-only plans generally do not include a traditional phone number, I rely on messaging apps or internet calling for most conversations abroad.
Plan timing deserves as much attention as coverage and price. Some eSIMs begin their validity when they are installed, while others start only after connecting to a supported network. I check whether the plan covers one country or an entire region, which partner networks it uses, how much high-speed data is included, and whether service is available in the rural areas I plan to visit. For a short city break, a smaller data allowance may be enough, but a multi-country road trip can justify a regional plan with more days and flexibility. I prefer installing the eSIM before departure, while Wi-Fi is reliable, then activating or turning on its data line when the plan’s validity should begin.
Phone Compatibility And Unlock Checks
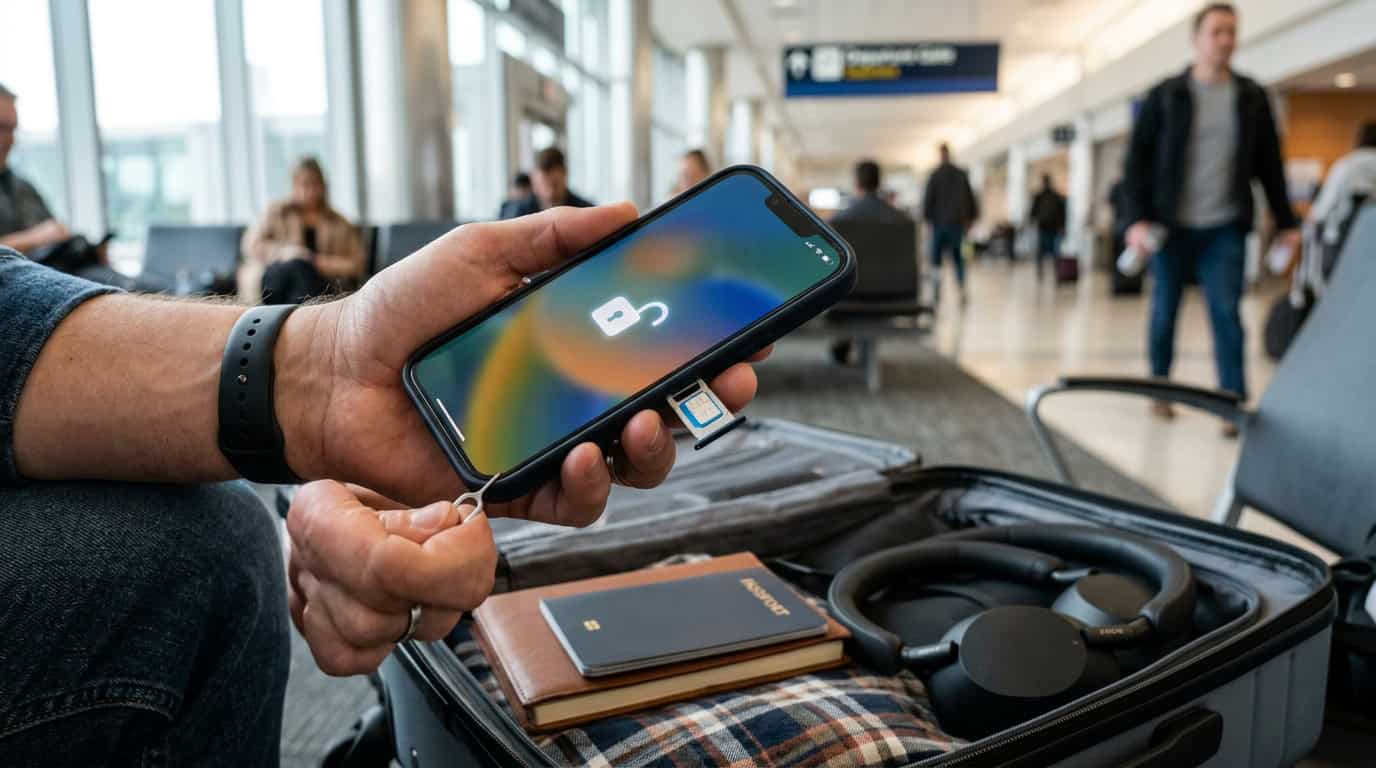
Before buying a travel eSIM, I check whether my phone supports eSIM technology and is carrier-unlocked. On an iPhone, I look for “Add eSIM” or “Add Cellular Plan” under Settings. Many Android phones show “Download a SIM” or “Add eSIM” in the SIM or Mobile Network settings. Device support can vary by model, region, and software version, so I also confirm the exact model on the manufacturer’s website and install the latest operating system update. Taking these few minutes at home is far easier than discovering an incompatibility while standing in an airport in Rome or Bangkok.
A compatible phone must usually be unlocked so it can accept a plan from another carrier instead of being restricted to my home network. I check the phone’s settings for its carrier-lock status. If anything is unclear, I contact my current carrier before departure because unlocking rules can depend on my contract or payment status. Dual-SIM phones are especially useful for travel because I can keep my regular SIM active for calls, texts, and verification codes while using the travel eSIM for mobile data. I label each line clearly, set the travel eSIM as the data line, and turn off data roaming on my home SIM to help avoid unexpected charges.
I also review the eSIM plan’s operating system requirements, supported countries, and network bands before purchasing, especially for a multi-country itinerary. Some plans are data-only, so I make sure I understand whether calls and texts will use an app, my home number, or a separate service. Before flying, I install the eSIM while connected to Wi-Fi, but I wait to activate it if the plan’s validity period begins at installation rather than at first network connection. A quick test at home, followed by saving the activation details and support instructions offline, gives me confidence that I can step into a new destination and start navigating without a frantic search for airport Wi-Fi.
Regional Coverage And Plan Pricing
Country-specific, regional, and global plans each suit a different kind of journey. For a long weekend in Paris, I would usually choose a country plan with enough data for maps, transit apps, restaurant searches, and a few photo uploads. A regional plan becomes more practical when I am moving through several Southeast Asian destinations because one plan can cover multiple borders without requiring a new setup at every stop. Global plans offer the broadest reach, but they can cost more and may include less data or slower speeds in individual countries. I always check the exact destination list and partner networks before buying.
Price comparisons become clearer when I look beyond the headline data allowance. I compare the total cost with the plan duration, whether speeds are reduced after a daily or monthly limit, and whether hotspot tethering is permitted for a laptop or travel companion. Some plans advertise unlimited data but apply fair-use rules that can reduce speeds after heavy usage. Data-only plans may also exclude calls and texts. I check whether the plan starts when I install it or when it first connects abroad, since that detail can prevent valuable days from being used before my flight.
The best value is the plan that matches my itinerary rather than the one offering the most gigabytes. For a four-day Paris break, a modest country plan may be all I need. A three-week route through Bangkok, Kuala Lumpur, Singapore, and Bali calls for generous regional coverage, reliable hotspot access, and a longer validity period. Before departure, I confirm that my phone supports eSIMs, is unlocked, and can keep my home SIM active for verification texts while the travel eSIM handles mobile data. With those checks complete, I can spend less time searching for Wi-Fi and more time wandering through bright markets, quiet temples, and unfamiliar streets.
Travel eSIM Setup And Roaming Control
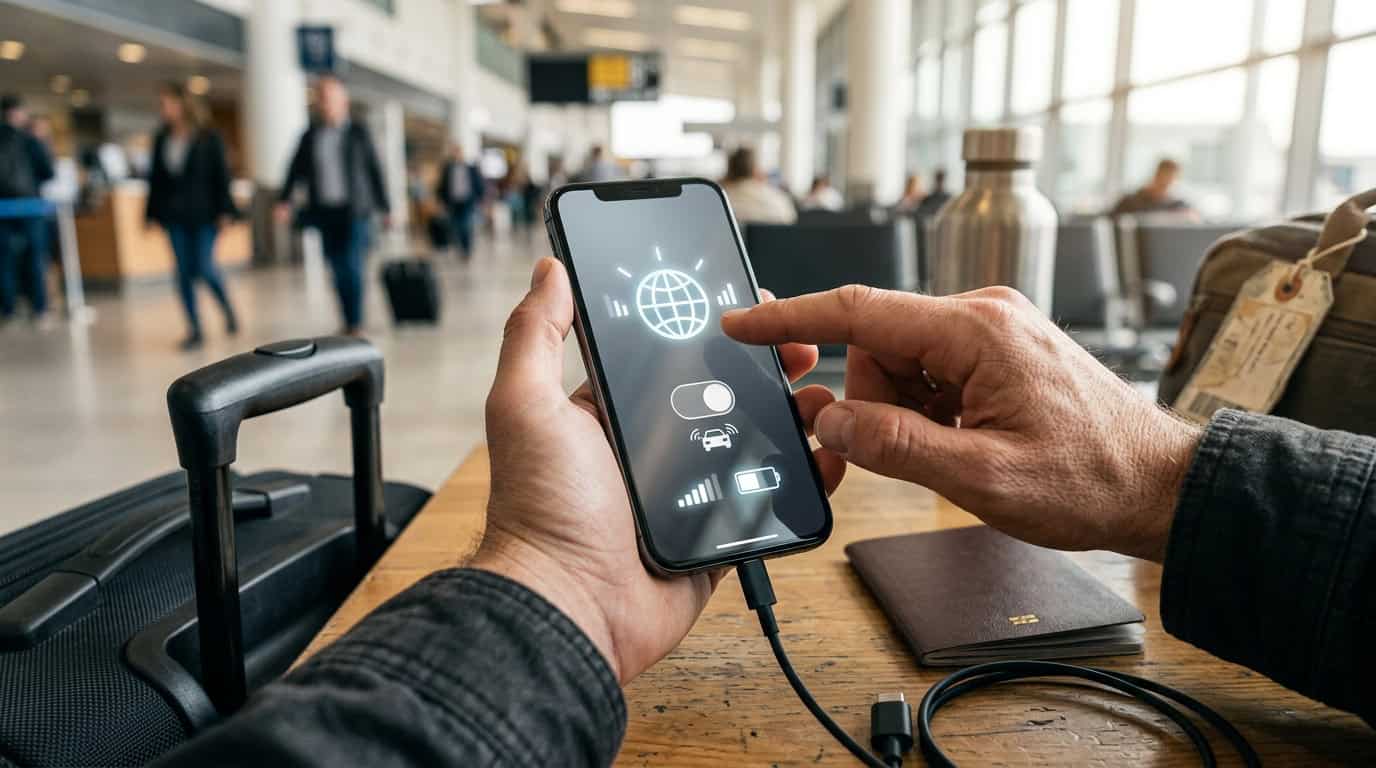
Before departure, I check that my phone supports eSIM technology and is unlocked for use with another network. I then compare the price, data allowance, validity period, and regional coverage of each plan, especially if my route crosses several countries or includes remote destinations. After purchasing, I install the plan through the emailed QR code while connected to reliable Wi-Fi, but I confirm the activation rules before turning it on. I label the new line “Travel” and keep my home line clearly marked, which makes the arrival-day settings much easier to manage. If the plan is data-only, I also download offline maps and remember that calls and texts may require an internet-based messaging app.
Once I land, I open my cellular settings and select the Travel eSIM for mobile data, leaving my home line available for important texts if needed. I turn off data roaming on the home line and check that automatic data switching is disabled, since either setting can lead to unexpected charges. A quick test in the airport or outside the terminal confirms that webpages load, maps refresh, and messages send before I head into unfamiliar streets. I like to test directions, translation tools, and a weather update immediately because a working connection gives me confidence when navigating a new city. If the eSIM does not connect, I restart the phone, verify that the line is enabled, check the plan’s instructions for network selection or APN settings, and contact support over Wi-Fi.
During the trip, I monitor data usage in my phone’s settings and set a warning before reaching the plan’s limit. I save hotel details, train schedules, and key maps offline, then use Wi-Fi for large photo uploads or software updates whenever possible. In the mountains, on islands, or along quiet coastal roads, coverage can vary because the eSIM relies on partner networks. I check the stated regional coverage before leaving areas with reliable service. If data suddenly stops, I confirm that the plan has not expired, airplane mode is off, the correct line is selected, and roaming is enabled only on the Travel eSIM when its instructions require it. These small checks help me stay connected without letting a roaming surprise interrupt the journey.
Plan Your Travel eSIM With Confidence
A travel eSIM can make international connectivity feel refreshingly simple, especially when I prepare a few details before departure. I first check that my phone supports eSIM technology and is unlocked, then compare regional coverage, data allowances, validity periods, and total pricing instead of choosing based on cost alone. Many travel eSIMs are data-only, so I keep my home SIM active for incoming texts and account verification while setting the eSIM as the line for mobile data. Taking a few minutes to install the plan, label each line, and review data roaming settings helps me avoid confusion and unexpected charges after landing.
With that preparation in place, reliable mobile data gives me more freedom to follow a quiet trail outside town, find a neighborhood café, or navigate back to my accommodation after an unplanned detour. I can check transit schedules, translate a menu, and share a favorite sunset without searching for Wi-Fi at every stop. Whether I am visiting one country or crossing several borders, the right travel eSIM helps me stay connected while keeping my focus on the experience. A little planning before takeoff can bring greater confidence to every spontaneous moment abroad.