
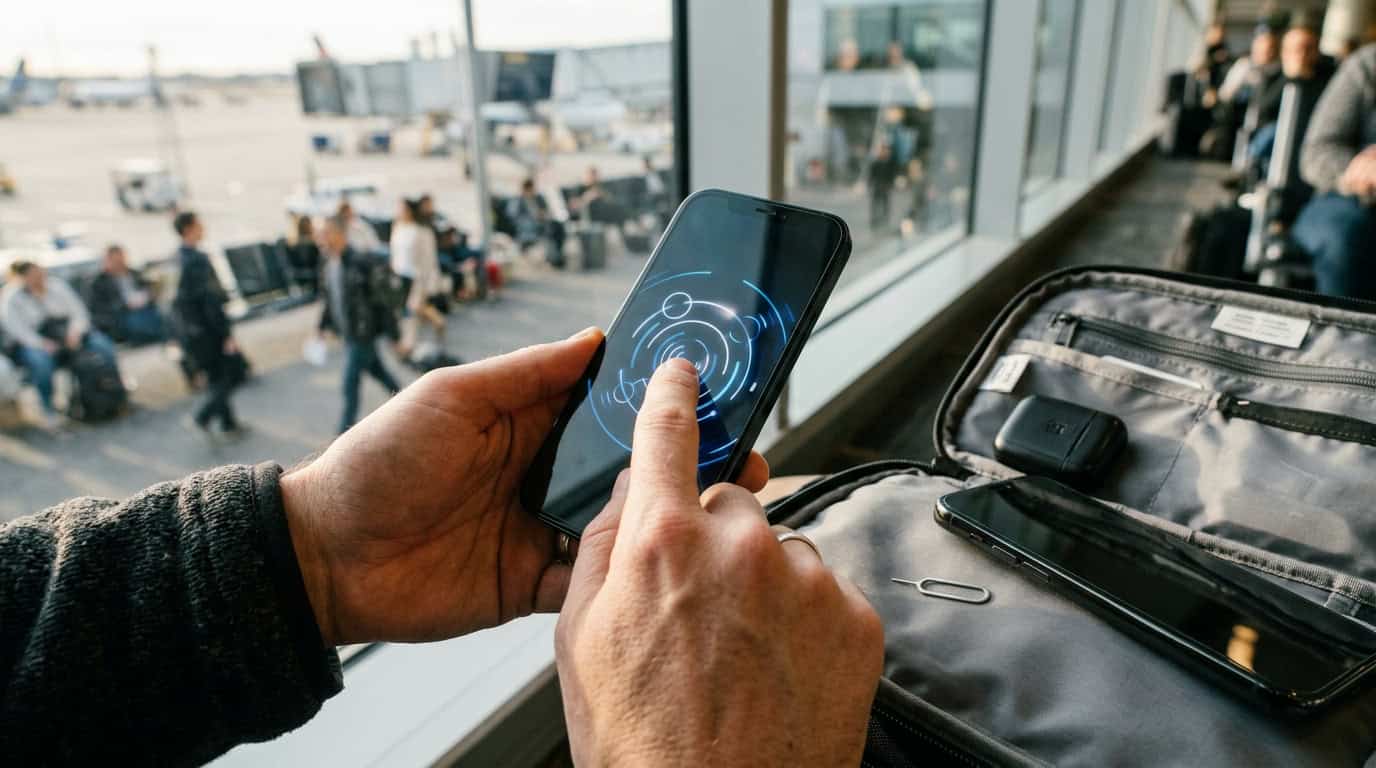
Landing in a new country should feel exciting, not like a scramble for Wi-Fi. A smooth travel eSIM setup can connect my phone to a local network before I leave the airport, helping me pull up directions, translate signs, book rides, and message home without swapping a tiny plastic SIM. Before I buy a plan, I check that my phone supports eSIM technology and is carrier-unlocked, since most travel plans require both.
I’ve found that setup is easiest before takeoff. I install the eSIM while I still have reliable internet, label it for my trip, and choose it for mobile data after landing. Most plans are prepaid and data-only, so I confirm whether calls and texts are included. When possible, I keep my regular line available for important messages while preventing unexpected roaming charges.
Key Takeaways
- Verify that your phone supports eSIM, is carrier-unlocked, and is compatible with the destination networks before purchasing a travel plan. Check the exact model, EID, carrier-lock status, and regional eSIM restrictions.
- Choose a plan based on coverage across your entire itinerary, expected data usage, validity period, hotspot needs, and whether calls or SMS are included. Confirm when the plan begins so installation does not unnecessarily consume validity days.
- Install and label the eSIM over reliable Wi-Fi before departure, then select it for mobile data after landing. Keep your primary line available if needed, but disable its data roaming and turn off automatic data switching to avoid unexpected charges.
- Monitor data usage and know the basic troubleshooting steps: confirm the travel line is active, enable roaming if required, toggle airplane mode, restart the phone, try a supported network manually, and contact the provider without deleting the eSIM.
Check eSIM Compatibility And Unlock Status
Before purchasing a travel eSIM, I always confirm two essentials: my phone supports eSIM technology and it is unlocked for use with another carrier. In the phone settings, I look under the device information section for an EID, then check the carrier-lock status. If it says “No SIM restrictions,” the phone is generally ready for another network. Many newer phones support eSIM, but availability can vary by country and model, so I check the exact model number. Regional versions, including some phones sold in certain Asian markets, may not offer eSIM at all.
Settings differ between devices, but the checks are usually quick on compatible phones. I look in the network or SIM settings for an option to add or download a SIM, or for a section labeled Add eSIM. Recent devices commonly support eSIM, yet regional variants and carrier-specific versions can have different restrictions. I verify the model number and EID in the device settings before leaving home. If the eSIM option is missing, I check the manufacturer’s regional specifications instead of assuming a software update will add the feature.
An unlocked phone is the key to switching from costly roaming to a local travel plan, especially when I want to keep my home SIM active for texts or account verification. I check the carrier-lock status in the phone settings, test another SIM when possible, or ask my current carrier to confirm that the device is unlocked. I also check that the destination network supports my phone’s frequency bands and that the plan covers every country on my itinerary, since compatibility can vary across borders. Completing these checks before boarding means I can land, scan the activation code, and start navigating lively streets or remote coastlines without hunting for airport Wi-Fi.
Choose A Travel eSIM Data Plan
I start my travel eSIM setup by checking coverage in every place on my route, not just the country listed on the plan. A plan that works across Italy is useful for navigating Rome by train, but I still confirm service in smaller towns, airports, and every region I plan to visit. When crossing borders, I compare regional plans with country-specific options to find the most practical coverage. Reliable data keeps train schedules, maps, translation tools, and digital tickets within reach as I explore unfamiliar streets.
Next, I match the data allowance and validity period to the way I expect to travel. A smaller plan may be enough for occasional directions and messages, while sharing photos from Tokyo or streaming music between neighborhoods requires more data. Working remotely from a beach in Greece calls for a larger allowance, dependable coverage, and hotspot access for my laptop, so I verify tethering rules before purchasing. I also check when the plan begins, choosing one that activates on first connection or has an activation window that will not waste days while I am still at home.
Most travel eSIMs are data-only, which works well when I use internet calling and messaging apps. A plan with voice and SMS may be worthwhile if I need a phone number for reservations, two-factor authentication, or local calls. Before buying, I confirm that my phone supports eSIM and is carrier-unlocked, since a locked device may not accept a profile from another network. When possible, I keep my regular line available for important messages while setting the travel eSIM as the mobile-data line to avoid expensive roaming charges. Reviewing these details before departure makes the setup feel less like a technical chore and more like packing a dependable connection for the journey ahead.
Install And Activate The eSIM
I start by purchasing a travel eSIM plan that covers my destination, trip length, and expected data use. Before paying, I check that my phone supports eSIM and is carrier-unlocked, since a locked device may not accept a plan from another network. Once the purchase is complete, I save the installation details, usually a QR code or instructions for the provider’s app. Installing the profile over reliable Wi-Fi at home gives me time to solve problems before the airport rush.
To install it, I open my phone’s cellular settings, choose the option to add an eSIM, and scan the QR code. If available, I can also follow the in-app setup. I label the new line something clear, such as “Japan Trip” or “Europe Data,” so I can identify it quickly beside my regular number. I keep my primary line available for calls or texts if needed, but select the travel eSIM for mobile data and turn off data switching to prevent accidental roaming charges. Because most travel eSIMs are data-only, I also confirm how calls and messages will work before leaving.
I prefer to install the eSIM before departure but wait to activate it until I arrive, especially when the plan’s validity period starts as soon as it connects to a local network or is activated. At my destination, I turn on the travel line, enable data roaming for that line if the instructions require it, and verify that the phone shows a local network connection. Some plans begin counting days during installation, so I read the activation terms carefully and follow the provider’s timing guidance. With those settings ready, I can step off the plane, pull up maps, message my accommodation, and find my first scenic stop without paying expensive roaming rates.
Manage Data And Fix Connection Issues
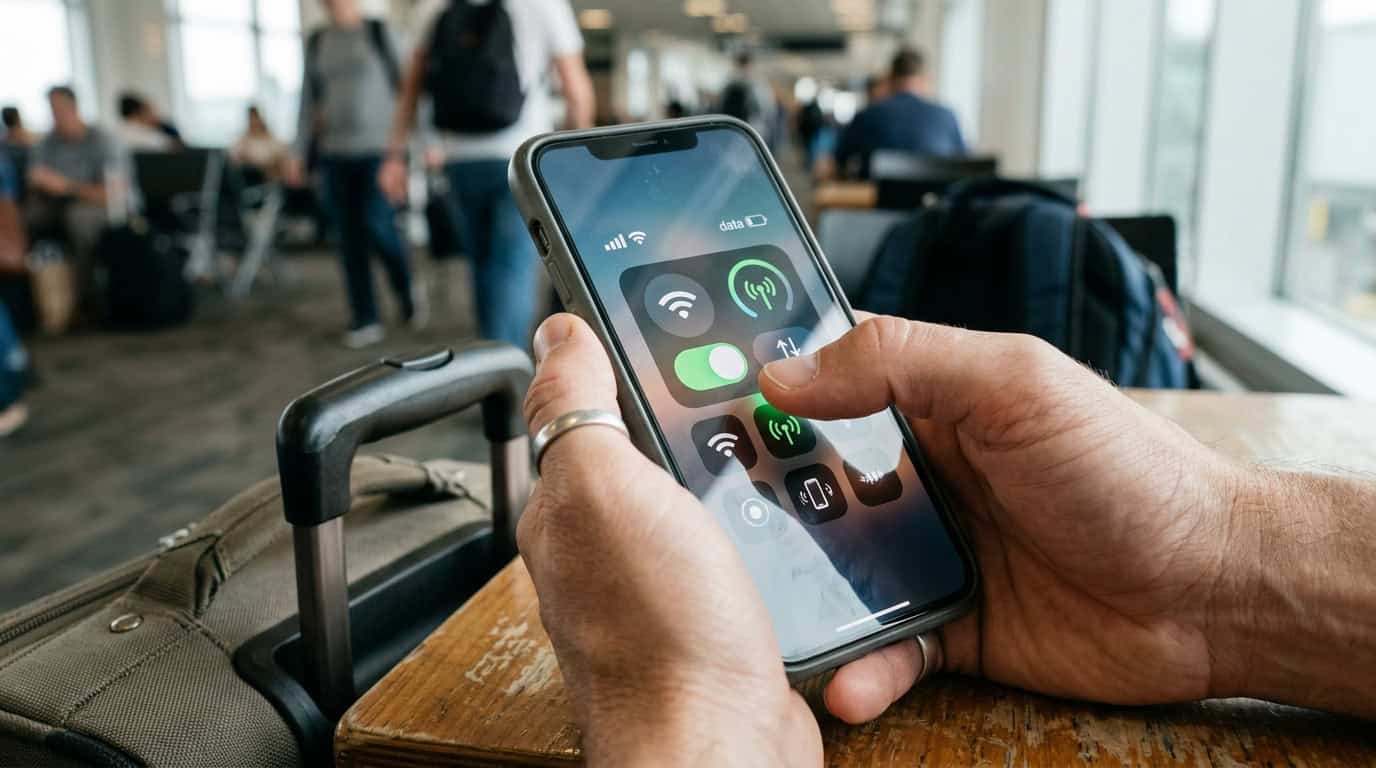
Once I arrive, I set the travel eSIM as my mobile-data line and turn on data roaming for that line, since many international plans need roaming enabled to connect to a partner network. I disable data roaming on my primary SIM and, when possible, turn off that line’s mobile data completely to prevent surprise charges. In the same settings menu, I confirm that automatic network selection is enabled, then switch to a supported network manually if the phone shows no service. I also check that the travel eSIM is active and that mobile-data automatic data switching is disabled, so my phone cannot quietly fall back to the primary line. These small checks give me confidence to open a map in a busy station or send a message from a mountain village without worrying about roaming fees.
I monitor usage throughout the trip by checking the eSIM provider’s app or website, along with my phone’s mobile-data counter. I set a warning or limit when my plan includes a fixed amount of data, and I download maps, boarding passes, and entertainment over Wi-Fi before heading out for the day. If the connection fails, I follow a simple sequence: confirm that the eSIM is turned on, verify that it is selected for mobile data, check data roaming, toggle airplane mode, and restart the phone. If service is still missing or slow, I manually try a supported network, move outdoors or to a clearer location, and review the APN instructions supplied with the plan.
When activation fails, I make sure the phone is eSIM-compatible and carrier-unlocked, then confirm that the QR code or activation details were entered exactly as provided. I avoid deleting the eSIM during troubleshooting because some plans cannot be reinstalled easily. If the problem continues, I contact support with my phone model, location, network name, and error message. For accidental roaming charges, I immediately switch mobile data back to the travel line, disable roaming on the primary SIM, and review the phone’s recent data usage. With these habits in place, I can focus on sunrise walks, local cafés, and the next scenic train ride instead of searching for a signal.
Set Up Your Travel eSIM Smoothly
A smooth travel eSIM setup starts with checking that my phone supports eSIM technology and is carrier-unlocked, especially if I plan to use a different network abroad. I always confirm the exact device model and destination coverage before buying, then choose a plan that matches my trip length and expected data use. Since many travel eSIMs are data-only, I also check whether I need a separate option for calls or text messages. Installing the eSIM while I still have reliable Wi-Fi gives me time to scan the activation code, label the line, and resolve any issues before departure.
Before leaving, I test the connection at home and make sure I know which line is set for mobile data. After landing, I turn on the travel eSIM, select it for cellular data, enable data roaming for that line if required, and keep roaming off on my regular line to avoid unexpected charges. These small adjustments let me open maps, message family, and book a ride as soon as I arrive, without searching for a SIM shop at the airport. With the setup complete, I can focus less on connectivity and more on wandering through new streets, finding memorable views, and enjoying the freedom of a well-prepared journey.