
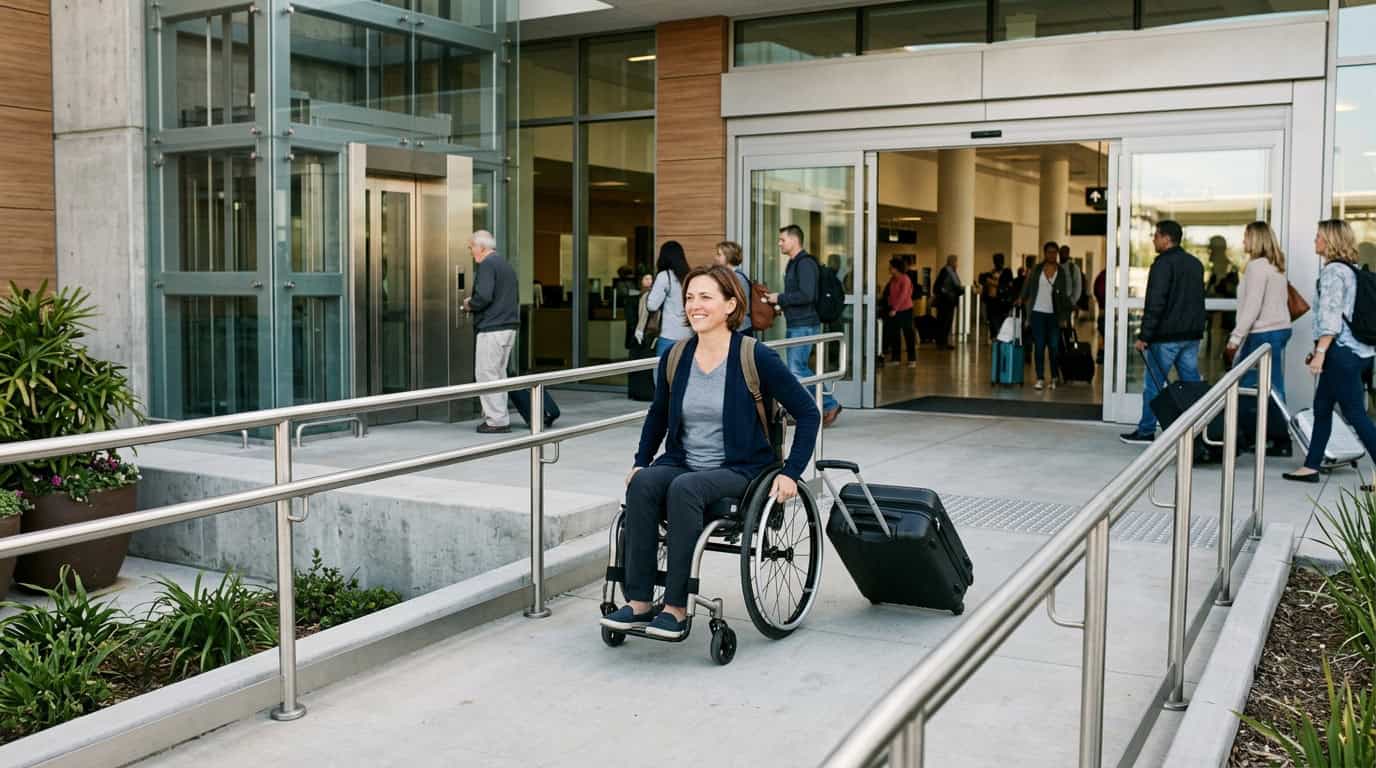
My most useful accessible travel tips begin before I leave home: I confirm step-free routes, request accommodations early, and call ahead about the details that matter to me. I’ve found that a little planning, such as downloading transit maps, checking bathroom access, and carrying backup mobility or medical supplies, can turn uncertainty into confidence. It also leaves more energy for the moments that make a trip memorable, from rolling along a sunny waterfront to pausing at a quiet viewpoint.
Accessible travel should feel expansive, not restrictive. With the right questions, flexible plans, and destinations that welcome different needs, I can choose experiences based on my interests rather than on barriers. A thoughtfully planned journey opens the door to new flavors, familiar comforts, and the freedom to explore at my own pace.
Key Takeaways
- Define your personal accessibility needs in specific, practical terms, then share them with airlines, hotels, transport providers, and attractions. Ask about measurements, routes, bathroom features, sensory conditions, communication preferences, and assistance procedures rather than relying on vague “accessible” labels.
- Verify transportation and lodging details directly before booking and obtain written confirmation, photos, or floor plans whenever possible. Keep backup routes, nearby accessible options, and records of mobility equipment condition in case services or facilities do not match their descriptions.
- Choose attractions and routes based on real-world access, including surfaces, curb cuts, elevators, restrooms, seating, transit reliability, and alternative ways to experience inaccessible areas. Build flexible itineraries around energy levels, rest breaks, weather, closures, and spontaneous changes.
- Prepare medical supplies, prescriptions, emergency contacts, insurance details, mobility-equipment requirements, and destination-specific documents well in advance. Communicate needs clearly and respectfully, naming the solution required while allowing time for questions and confirming the plan.
Build A Personal Accessibility Profile
I start every trip by creating a personal accessibility profile instead of relying on broad labels such as “accessible” or “step-free.” I note how far I can comfortably walk, whether I need transfer assistance, which mobility equipment I use, and how much time I need between connections. I also record bathroom requirements, including grab bars, shower access, toilet height, and enough room to turn or transfer. When I planned a stay near a historic city center, this information helped me ask whether the route from the hotel entrance to my room included cobblestones, steep slopes, or unexpected steps.
Next, I turn each detail into a direct question for the people arranging my journey. I ask the airline or transportation provider what transfer assistance includes, where I will wait, and whether my equipment can be safely accommodated. For hotels and rentals, I confirm doorway widths, bed height, bathroom features, elevator access, and whether medication can be stored at the right temperature. I also explain my communication preferences, such as needing written instructions, extra processing time, or advance notice of changes. If crowds, bright lighting, loud announcements, strong scents, or other sensory triggers may affect me, I ask tour operators and transport staff about quieter routes, seating options, and less busy departure times.
I keep my profile in a phone note and a printable document, using clear, respectful language that I can share with each provider. Before paying a deposit, I request specific answers and photos, floor plans, or written confirmation when possible. I review those details again shortly before departure. I include emergency contacts, medication timing, and the best way to reach me, while keeping copies of prescriptions and essential information easy to access. This preparation does more than reduce surprises. It gives me the confidence to focus on the scent of a new market, the view from a scenic train, and the freedom of knowing my needs have a place in the plan.
Verify Transportation And Lodging
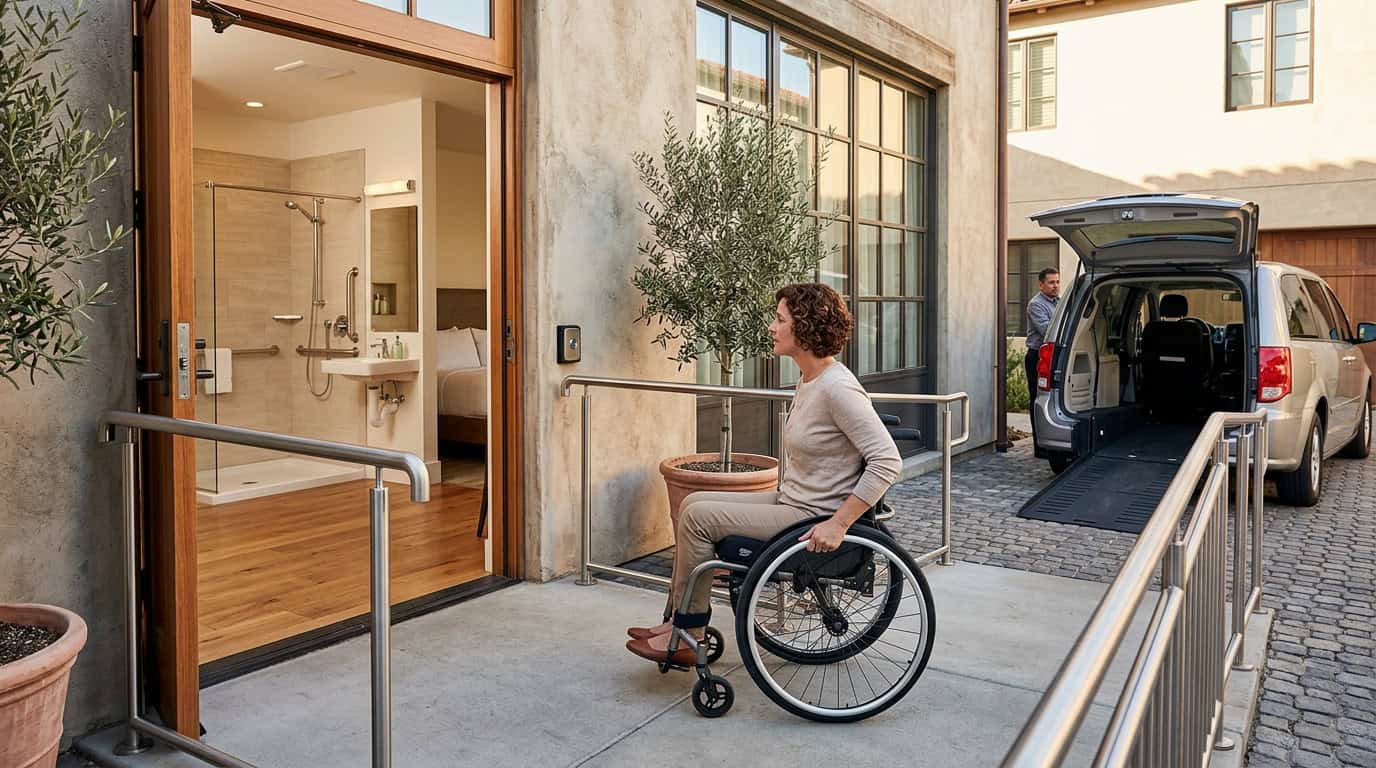
I treat the word “accessible” as a starting point, not a guarantee. Before booking, I contact the airline, train operator, bus company, or airport transfer service with specific questions about boarding ramps, aisle chairs, transfer procedures, service animals, battery-powered equipment, and storage limits. I also ask how much walking, standing, or stair use each part of the journey involves, since a low-floor vehicle or accessible aircraft seat may not remove every barrier. Requesting assistance as early as possible, then confirming the arrangements in writing, gives me a clearer plan and something useful to reference on travel day.
For lodging, I look beyond an accessible-room filter and verify the details directly with the property. I ask about step-free entrances, door widths, bed height, bathroom layout, roll-in or transfer space, grab bars, elevator dimensions, parking, and the route from the lobby to my room. I also ask how guests would exit during a fire or power outage, especially if elevators are unavailable, and whether staff can explain the emergency procedure in advance. If possible, I request recent photos or a simple video of the room and entrance, because a picture can reveal a narrow threshold or steep ramp that a description leaves out.
My confirmation email includes every requirement, the names of the people who acknowledged it, and a plan for what happens if the equipment or room is different on arrival. I photograph my wheelchair, scooter, cushions, or other travel equipment before handing it over, noting removable parts and existing damage for my records. I carry printed and digital copies of confirmations, allow extra time for transfers, and identify an accessible hotel, route, or taxi option nearby as a backup. These small steps cannot remove every surprise, but they help me stay calm and keep the journey moving when a facility does not match its description.
Choose Accessible Attractions And Routes
I start by checking each attraction’s accessibility details before booking, but I treat website descriptions as a starting point rather than a guarantee. I look for step-free entrances, elevator dimensions, accessible restrooms, places to sit, and clear information about cobblestones, steep paths, sand, or other challenging surfaces. For museums and historic sites, I also ask whether exhibits include captions, audio description, tactile materials, sign-language interpretation, or alternative ways to experience areas that cannot be reached. A quick call or email with specific questions can reveal practical details that a general “accessible” label leaves out.
Routes between attractions deserve the same careful attention as the destinations themselves. I use maps and local transit information to check curb cuts, crossing times, working elevators, accessible buses or trains, and nearby restrooms, while remembering that construction and weather can change a route. At a beach or park, I look for firm paths, accessible viewing areas, beach wheelchairs, shaded seating, and low-sensory times or quieter spaces. At restaurants, I confirm entrance access, table spacing, restroom features, and whether staff can accommodate communication or dietary needs. These small checks help me choose a route that feels inviting instead of turning a beautiful day into an exhausting obstacle course.
I build realistic days around energy, not just distance, by planning one or two main activities and adding regular rest stops in scenic cafés, gardens, galleries, or shaded public spaces. For example, I might visit a step-free museum in the morning, pause for lunch at a restaurant with accessible seating, and spend the afternoon on a level waterfront promenade rather than racing across town. I leave extra time for transfers, bathroom breaks, unexpected closures, and the spontaneous discoveries that make travel memorable. A flexible itinerary gives me structure and peace of mind while still leaving room to follow a lively street performance, linger over a view, or change plans when my body needs a slower pace.
Prepare Medical Needs And Communicate Respectfully
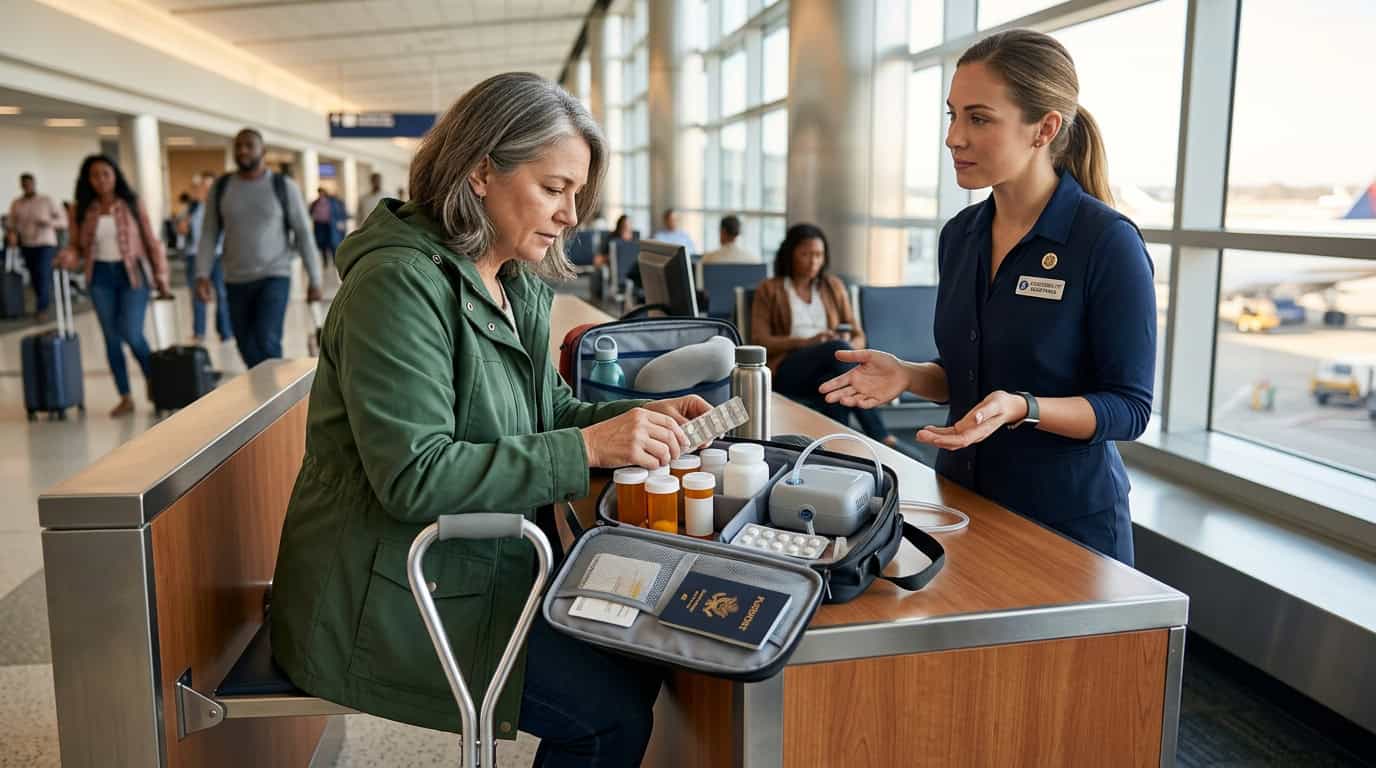
I pack medications in my carry-on, keeping them in their original labeled containers and bringing extra supplies in case delays turn a short journey into an overnight stay. Copies of prescriptions, a brief medical summary, and emergency contact details can make it easier to get help, especially when traveling internationally. I also check whether my mobility device uses a battery that must be disconnected, protected, or declared before boarding, since airline rules can vary by equipment type. Travel insurance is worth reviewing closely for medical care, preexisting conditions, evacuation, and mobility-device damage. Before leaving, I save local emergency numbers, my doctor’s information, and the address of the nearest suitable clinic in both my phone and a printed travel folder.
Destination-specific rules deserve attention well before departure, particularly for service animals, medications, and mobility equipment. A country may require health certificates, vaccinations, import permits, advance forms, or quarantine arrangements for a service animal, while some medications that are routine at home may be restricted elsewhere. I contact the relevant embassy, airline, airport, attraction, or hotel directly, then keep confirmation numbers and copies of every approved document together. I also ask about accessible transportation, relief areas, charging options, and backup plans if an elevator or ramp is unavailable. This preparation may take an extra afternoon, but it gives me more freedom to focus on the destination’s markets, museums, coastlines, and quiet corners rather than unexpected paperwork.
Clear, respectful communication often makes access conversations easier for everyone involved. I explain what I need in practical terms, such as, “I use a wheelchair, and I need a level boarding route,” or, “My service animal must stay with me, and here are the required documents,” instead of assuming staff understand my situation. On one trip, I calmly described my transfer needs at the airport desk and asked the agent to repeat the plan. The conversation quickly shifted from uncertainty to teamwork. I have found that naming the solution, allowing time for questions, and thanking staff for specific help can create a warmer interaction without minimizing my rights or needs. With a direct plan and a little patience, asking for access becomes another useful part of preparing for an enjoyable journey.
Plan Accessible Travel With Confidence
The most useful accessible travel tips begin with defining what I need to feel safe, comfortable, and independent, whether that means step-free access, an accessible bathroom, quiet spaces, dietary support, or extra time between activities. I verify every important detail directly with hotels, airlines, rail services, and attractions, asking specific questions instead of relying on vague labels such as “accessible.” Photos, measurements, written confirmations, and backup plans can make the difference between a smooth arrival and an exhausting surprise. I also keep medical supplies, prescriptions, documentation, and emergency contacts organized, while checking transportation rules for mobility equipment and completing other required preparations well before departure.
A flexible itinerary lets me enjoy a destination at my own pace, with rest breaks, shorter outings, and nearby alternatives built into each day. I plan around my energy and comfort, but I do not let uncertainty erase the excitement of discovering a sunny market, a quiet museum, or a beautiful viewpoint. Clear, respectful communication helps others understand my requirements, and asking questions is a practical part of preparing for a better journey. Accessible travel is not about limiting adventure. It is about creating the conditions that allow me to experience each destination fully, confidently, and with more room for joy.